
Make flaky delicious cream horns super simply with the help of store bought puff pastry dough. We’ll show you how and give you some great ideas for filling them as well!
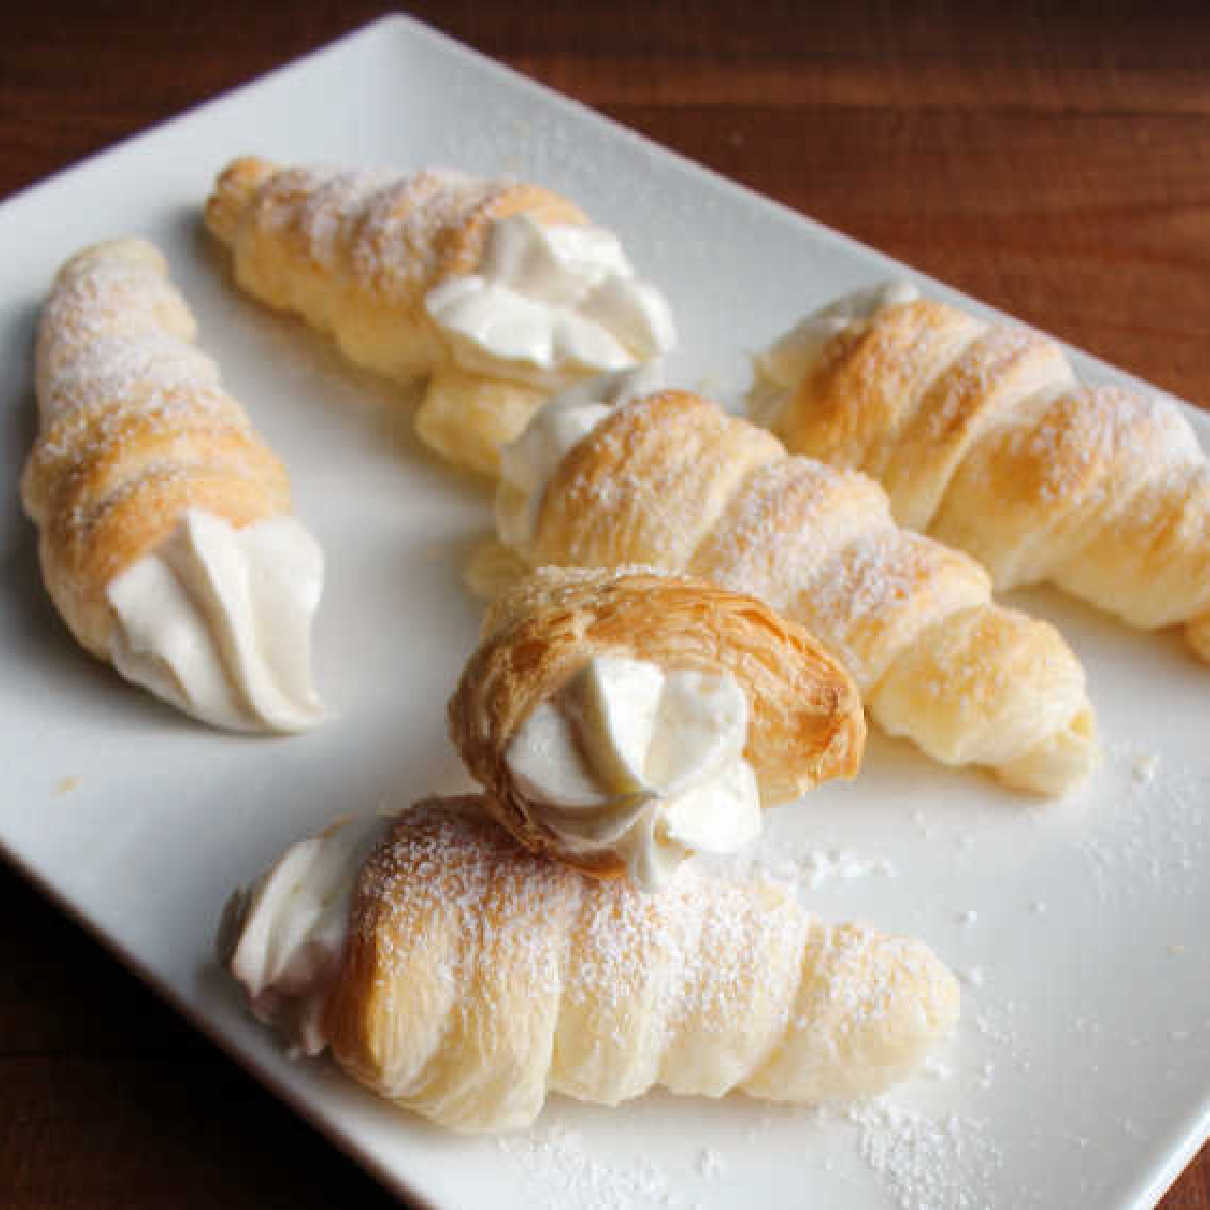
There is just something about the flaky simplicity of cream horns. When you make them yourself you can fill them with whatever you want, so that is an added bonus.
Luckily they don’t take much effort to put together and the process is kind of fun. You should try it for yourself!
My dad has always been a cream horn fan. For whatever reason we almost never had them though.
It’s probably because the grocery store bakery version has to be made so they are shelf stable. The filling always feels like it’s leaving a coating on your teeth.
So Little Dude and I thought it would be fun to make our own and share with him for father’s day. What a good idea that was!
Cream Horn Molds
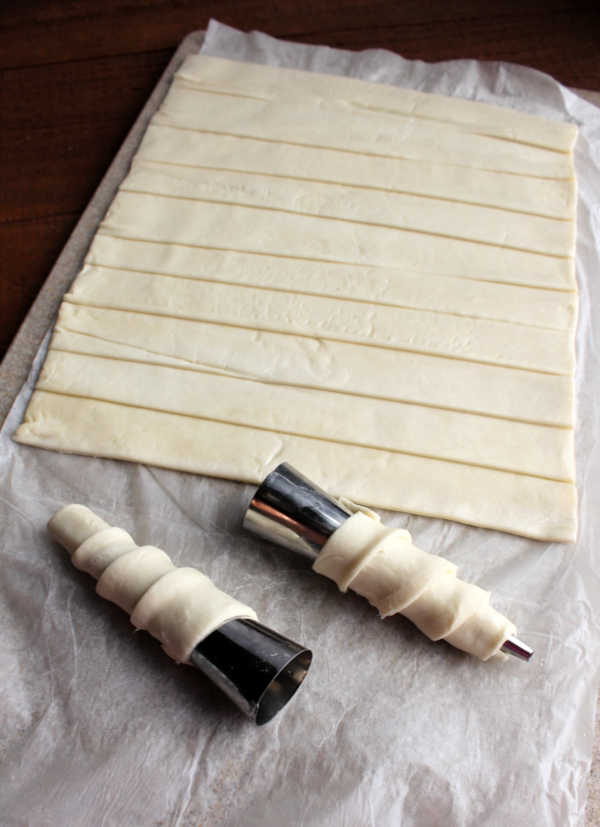
I already had the molds, but if you don’t have them don’t let that be a deterrent. They are really inexpensive and can be used for more than just cream horns.
I am looking forward to making some lady lock cookies closer to Christmastime. There are also cute ideas for making carrot shaped crescent rolls filled with egg salad for Easter.
You could also use them to shape krumkake or roll and fill a pizzelle. So they are worth the price of roughly $10 for 16 cones.
What can I use if I don’t have cream horn molds?
If you don’t have cream horn molds and don’t want to have to wait to order them, you can wrap sugar cones in aluminum foil instead. That will give you the right shape with easy to find materials.
Carlee’s Tips for Removing Pastry from Forms
Spray the cones before you wrap them with pastry. It makes everything a bit more slippery, but they do come off more easily.
Email Me The Link
If your forms have a slight overlap where one side can slide over the other like ours, gently compress the top to shrink it a bit and then give it a slight twist. The cream horn should slide right off!
Filling Ideas
Traditionally cream horns would be filled with whipped cream and sprinkled with powdered sugar. Cream cheese whipped cream would be another wonderful option.
I wish now that I had whipped up some mocha whipped cream to fill a few. That would be an amazing treat alongside a cup of coffee.
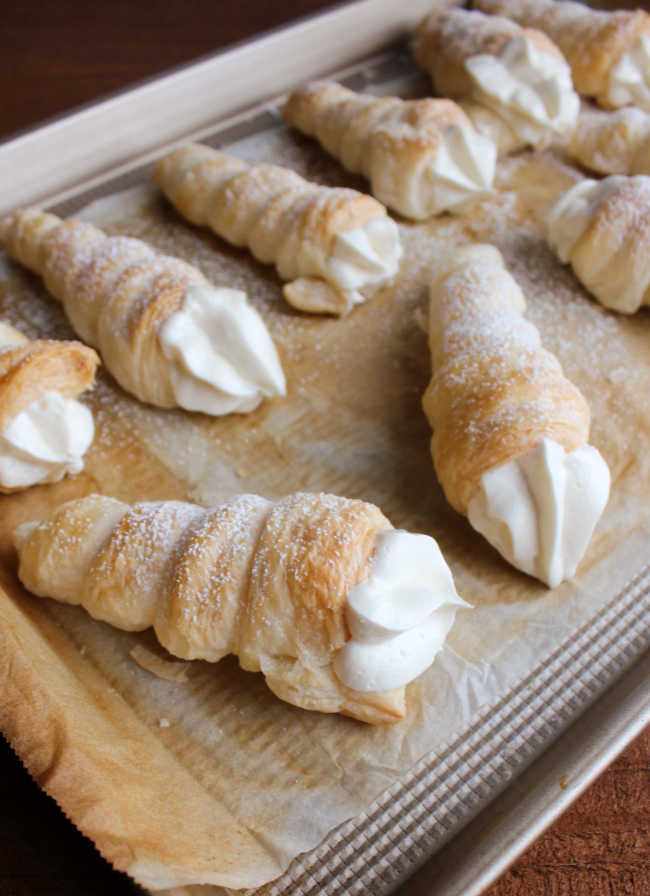
We filled this batch of cream horns with whipped cream cheese frosting. It is super fluffy and not overly sweet, so it made a fabulous filling.
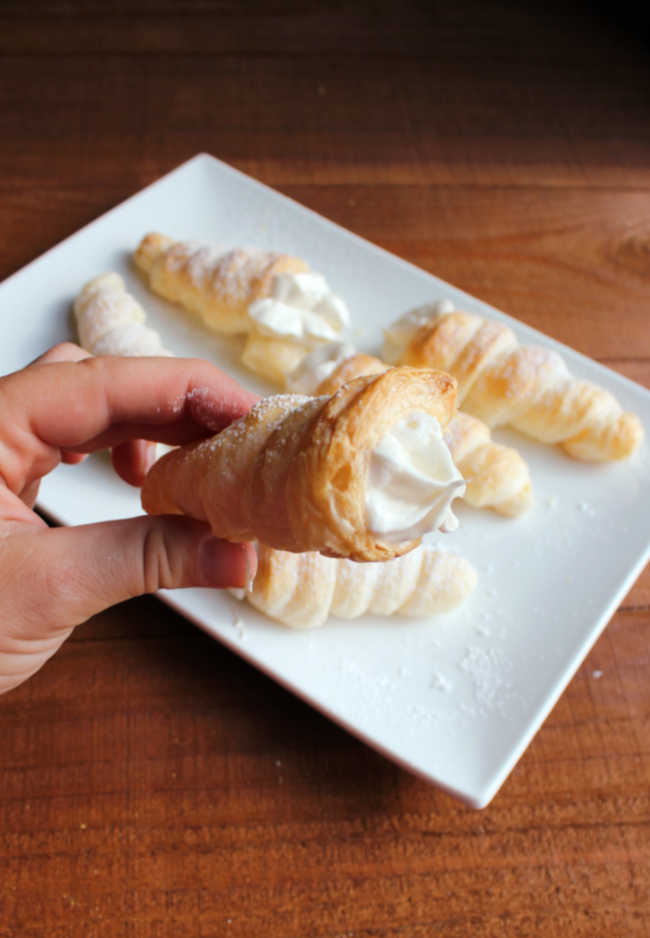
For a more stable option if they are going to be sitting out for a while, you could always use buttercream. Italian meringue buttercream would be a great in between option.
No matter which filling you choose, the final product benefits from some time together. So if possible, fill them and chill them in the refrigerator for a couple of hours before serving.
It not only gives the filling a chance to set up a bit, but also improves the texture of the pastry. They will be an extra special treat for sure!

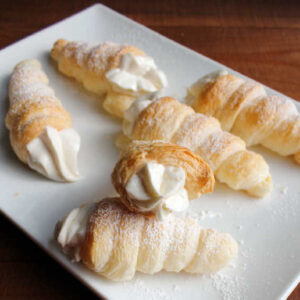
Easy Cream Horns Using Puff Pastry
Equipment
Ingredients
- 1 sheet puff pastry
- 4 Tablespoons powdered sugar
- Filling of your choice
Instructions
- Lightly roll out the puff pastry.
- Using a large knife or pizza cutter, cut the pastry into 12 strips.
- Lightly spray the cream horn molds.
- Wrap a strip of dough around each of them, starting at the pointy tip and slightly overlapping the layers as you go. Gently press the end of the dough strip into the dough next to it. Wet a finger to help attach it if needed.
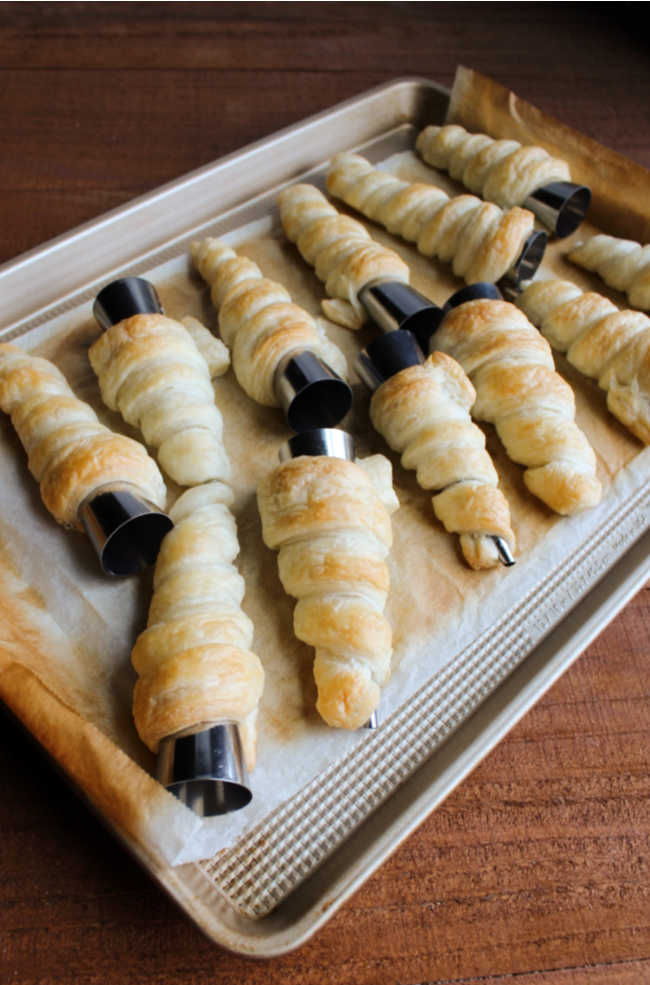
- Once all of the cones are wrapped and on the baking sheet, place it in the freezer while the oven preheats to 400°F.
- Bake for 12-15 minutes or until they reach a light golden brown. Cool them on the mold for 15 minutes, then slide off and cool completely before filling.
- Fill with your favorite frosting or whipped cream. Chill for at least a couple of hours before serving.
Video

Email Me The Link
Did you try this recipe?
Don’t forget to leave a rating below and make sure to follow on Pinterest and Instagram for more!
Get social!
Recipes in your inbox

Such a great Mom, These look so easy. Thanks
Thank you!