There is nothing better than a bowl of homemade ice cream. Luckily it is pretty simple to make. Here is the ultimate guide to making homemade ice cream so you can get started making all the delicious ice cream you can eat!
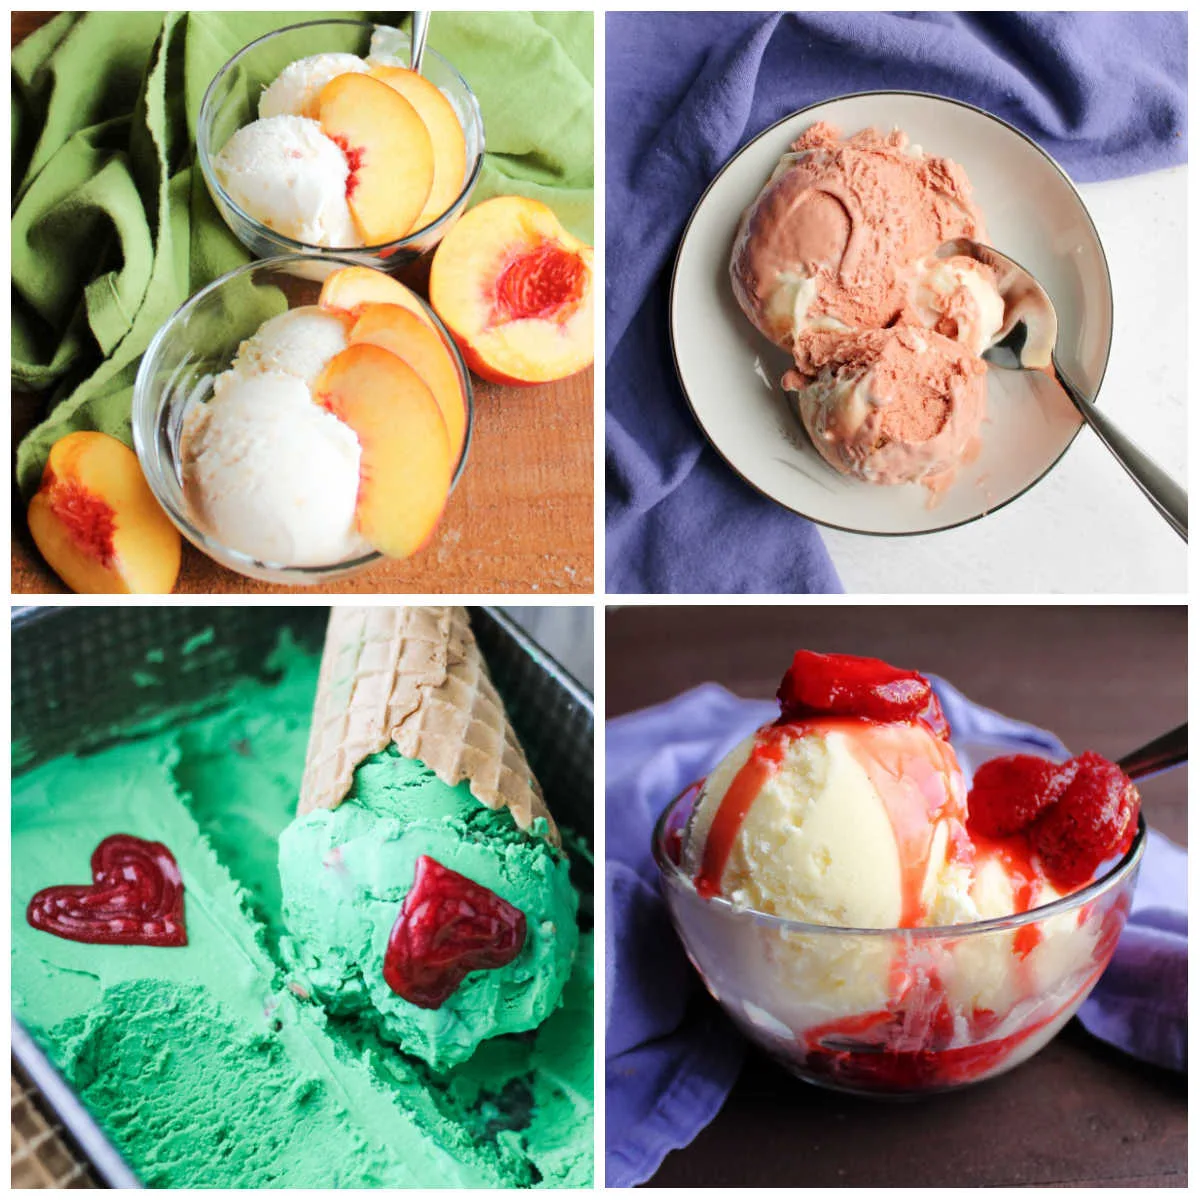
Ice cream is one of the most beloved desserts around, and for good reason. It’s creamy, it’s cold, it comes in a million different flavors… what’s not to love?
If you love ice cream, you’ll love being able to make your own. You can use high-quality ingredients for the richest flavor and even create your own flavor combinations.
The best part is, it’s pretty simple! If you want to learn how to make your own delicious homemade ice cream, this guide will get you started.
Table of Contents
What You Need to Make Ice Cream
There are only 3-4 essential ingredients needed for making ice cream: milk, cream, sugar, and flavorings. Of course, many other ingredients can be used to alter the flavor, texture, and consistency of your ice cream, but these four are the basics.
Milk: You can use any type of milk for making ice cream, although whole milk will produce the creamiest results. Fat-free milk will also work, but the ice cream will be less rich and creamy.
Cream: Heavy cream is best for making ice cream, as it contains more fat and will produce a richer texture. However, you can also use light cream or even half-and-half in a pinch. Just keep in mind that the ice cream will be less creamy if you go this route.
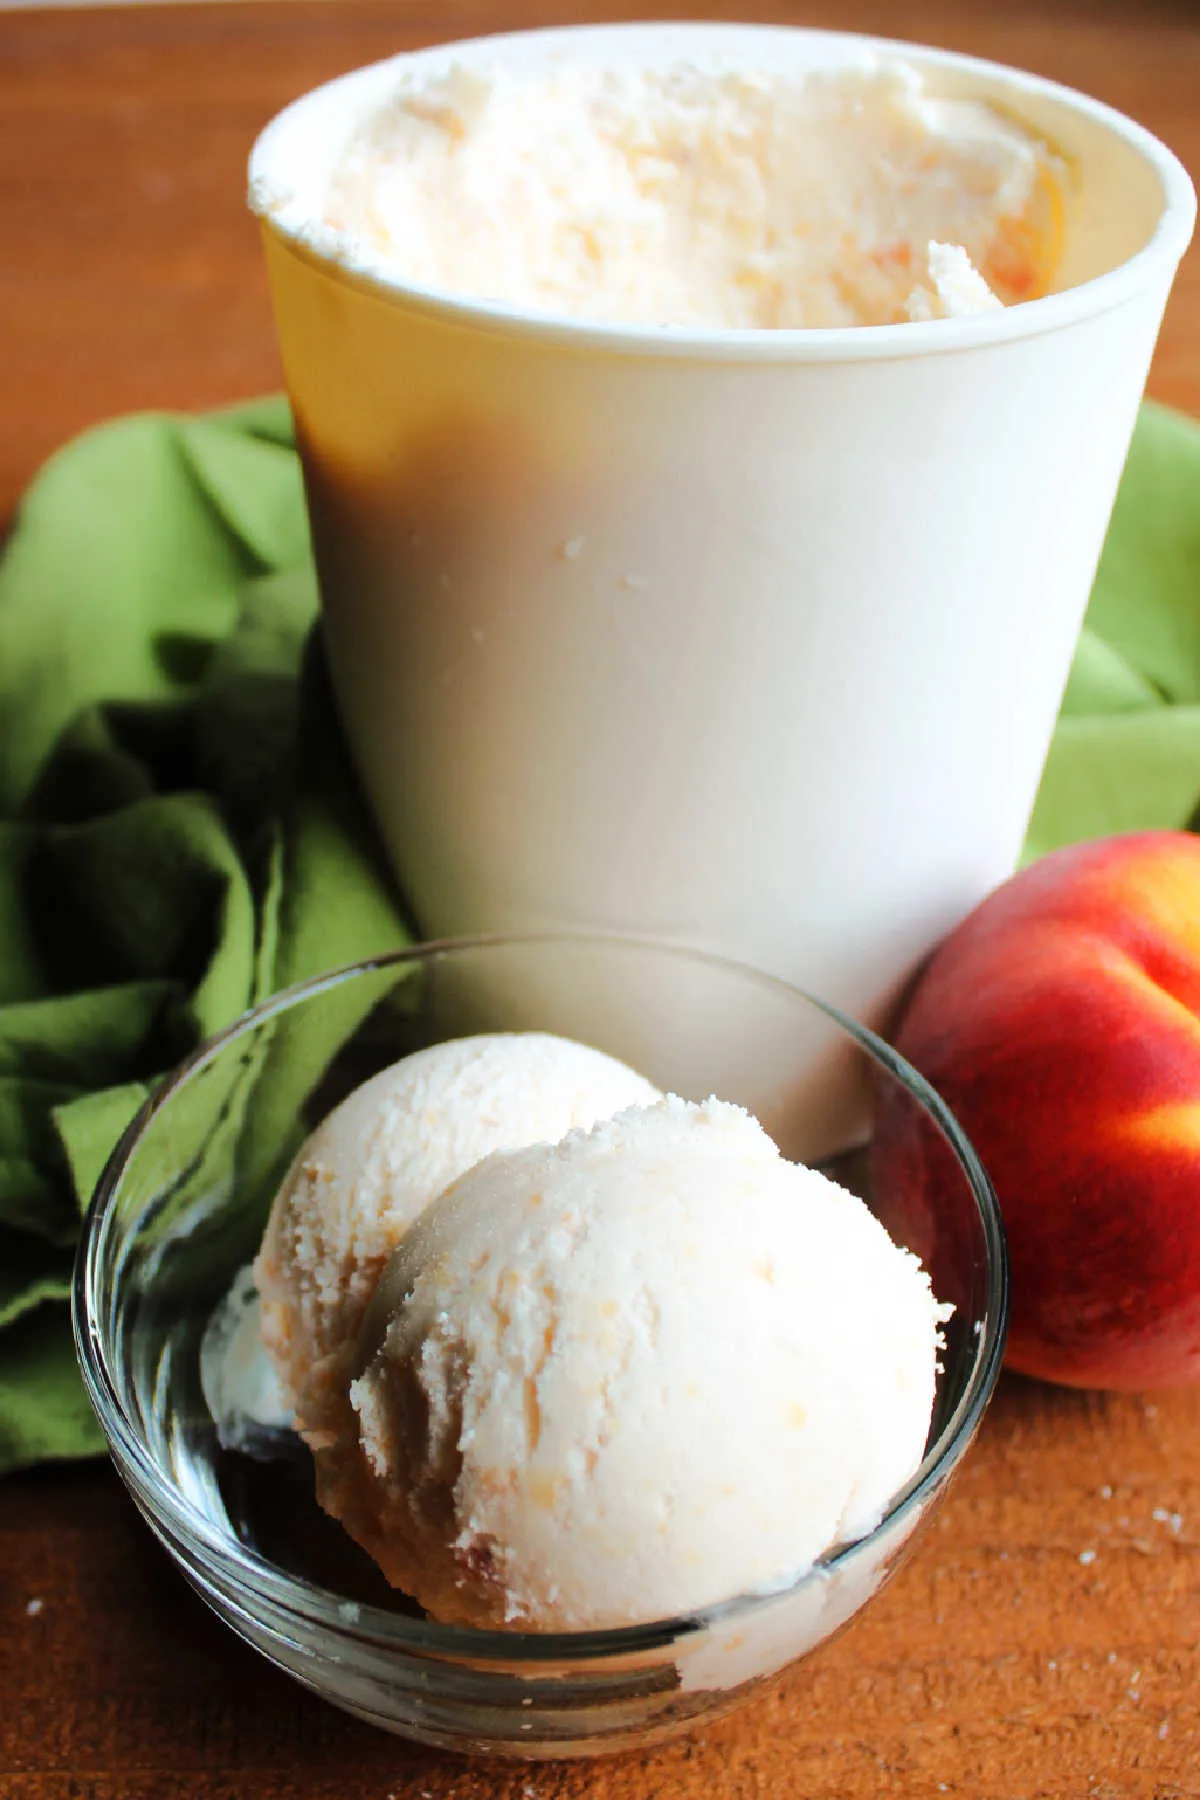
Sugar: Sugar is essential for sweetening the ice cream and helping it to freeze properly. You can use regular granulated sugar, or you can experiment with other types of sweeteners like honey, maple syrup, or molasses.
Flavorings: The sky’s the limit when it comes to choosing flavorings for your ice cream. You can use anything from fresh fruit to chocolate chips to cookies to nuts. Just about anything goes!
In addition to the ingredients above, you’ll also need some supplies. Most importantly, you’ll need an ice cream maker. This can be either a stand-alone machine or an attachment for your KitchenAid mixer. You’ll also need a large bowl and a sturdy spoon for stirring.
Depending on your ice cream machine, you may also need ice and rock salt for making the ice cream. These don’t go in your ice cream, but in your ice cream maker during the churning process later.
There are several styles of ice cream, each having their advantages. The point of each is to get that rich and creamy mouthfeel with a smooth finish and good texture.
It’s a matter of preference as to which way you choose to get that lovely ice cream texture.
Heating the Ice Cream Base
The first step in making ice cream is to make the base. This is simply a mixture of milk, cream, sugar, and flavorings that will be frozen in the ice cream maker.
One way to make sure the sugar completely dissolves is to heat the milk. Sugar dissolves much more easily in warm liquid than it does in cold.
To make the base, start by heating the milk in a saucepan over medium heat. You don’t want it to come to a boil, just get it nice and hot.
Next, add the sugar and stir until it’s completely dissolved. Then, add the cream and continue stirring until everything is well combined.
At this point, you can add any flavorings you like. Some popular choices include vanilla extract, chocolate chips, fresh fruit, and nuts. Stir everything together until the flavorings are well combined.
Finally, pour the mixture into a large bowl and place it in the fridge to cool for at least an hour. This step is important, as you don’t want to add the hot mixture to your ice cream maker.
Using Eggs in Your Ice Cream
Another way to get rich and creamy ice cream is to use eggs. Adding egg yolks to the ice cream base not only add richness and color, but they also help to emulsify the mixture.
They help to get a nice firm scoop without ice crystals. And they also improve the stability of the ice cream, making a scoop last a little bit longer giving you a chance to eat it.
The egg whites don’t add much to the ice cream texture, but they don’t hurt it either. So you can use whole eggs or just egg yolks.
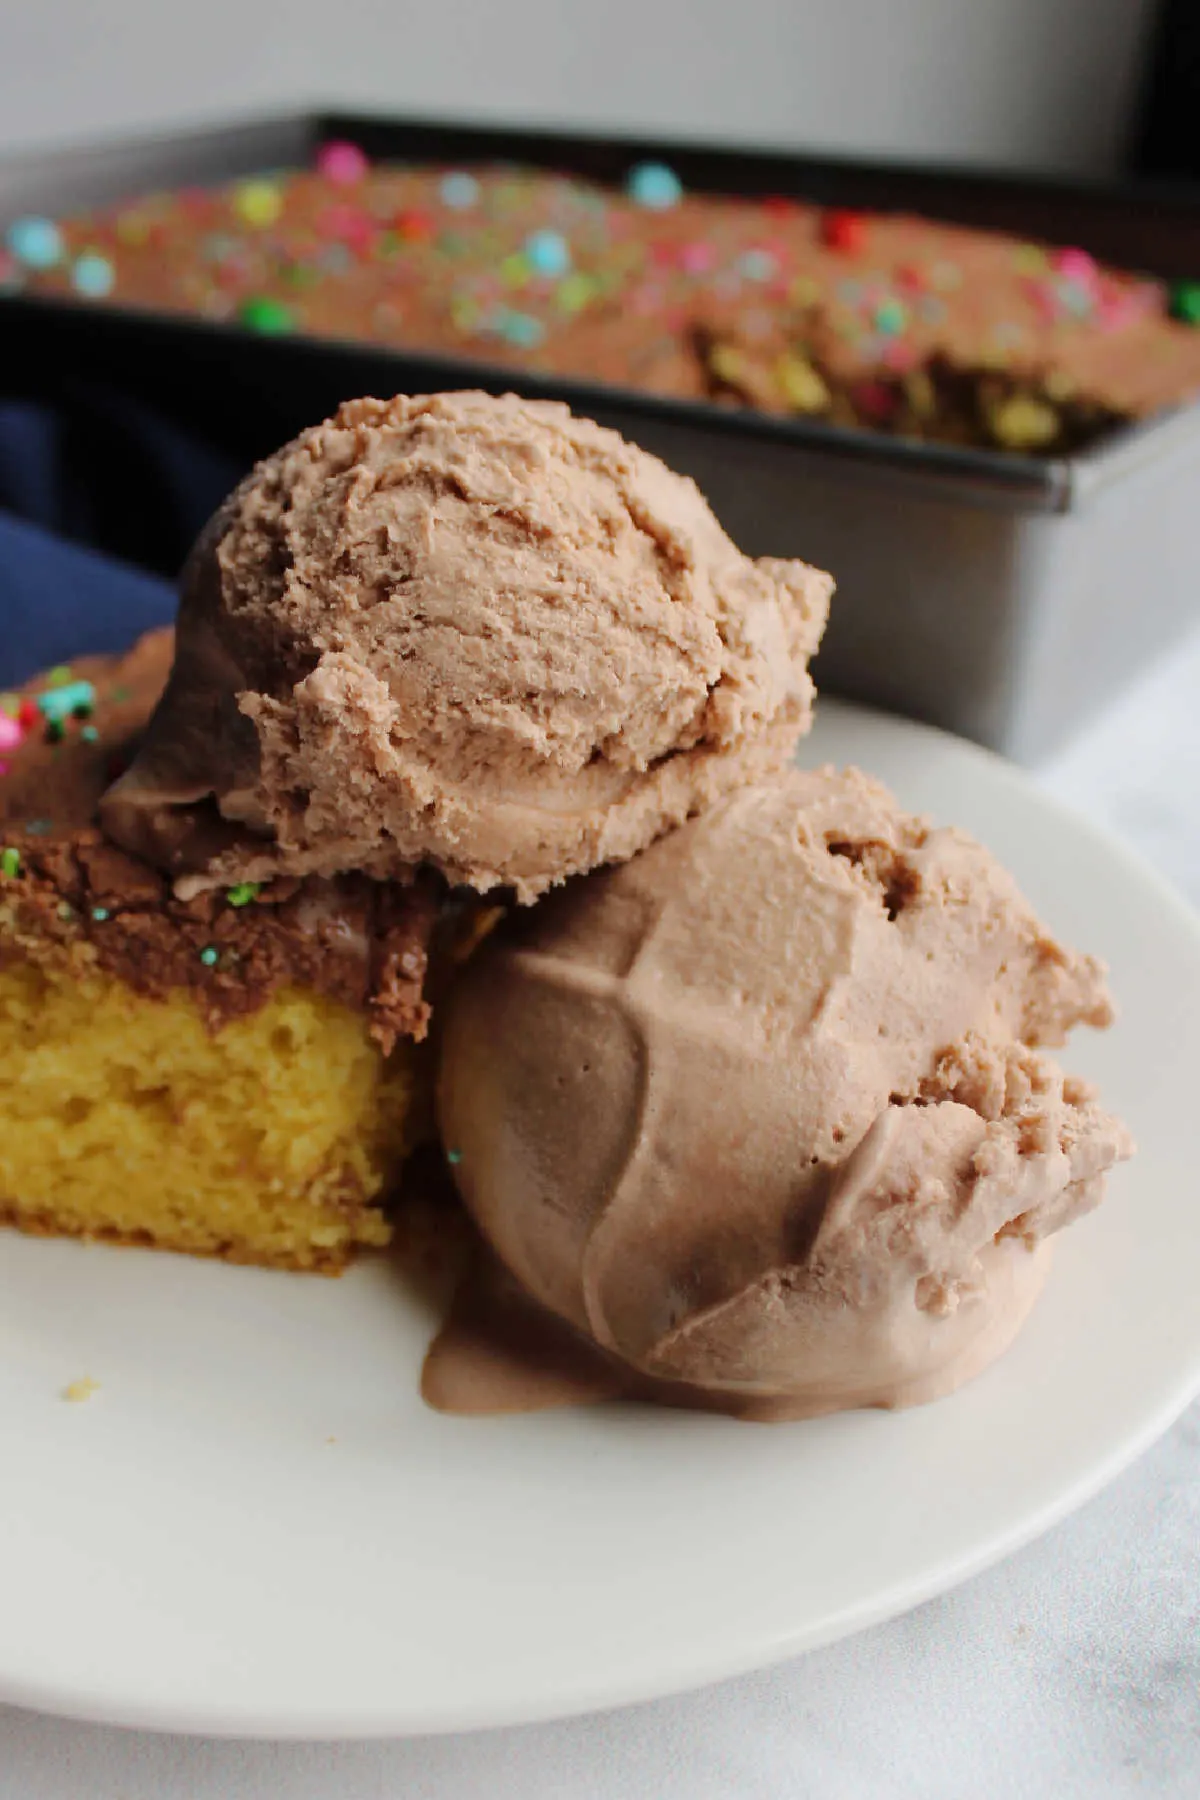
If you are worried about salmonella, you can use pasteurized eggs or even a carton of pasteurized egg product. Or you can cook the mixture and make frozen custard.
Still not sure about eggs in ice cream? If you like French vanilla ice cream, it is the eggs that give it that rich color and flavor.
We have a lot of favorite ice cream recipes with eggs in the base. Start with MiMi’s vanilla ice cream for an introduction.
You may also like brownie batter ice cream, blackberry ice cream or chocolate peanut butter ice cream.
Other Methods for Stabilizing Ice Cream
If you aren’t in the mood to heat the milk and wait for it to cool and you don’t want to use eggs, there are other options to make great ice cream. One is to increase the cream to milk ratio in the base.
Another great option is to use some cream cheese in the base. The cream cheese adds more milk proteins to the mix allowing the base to trap more air as it churns.
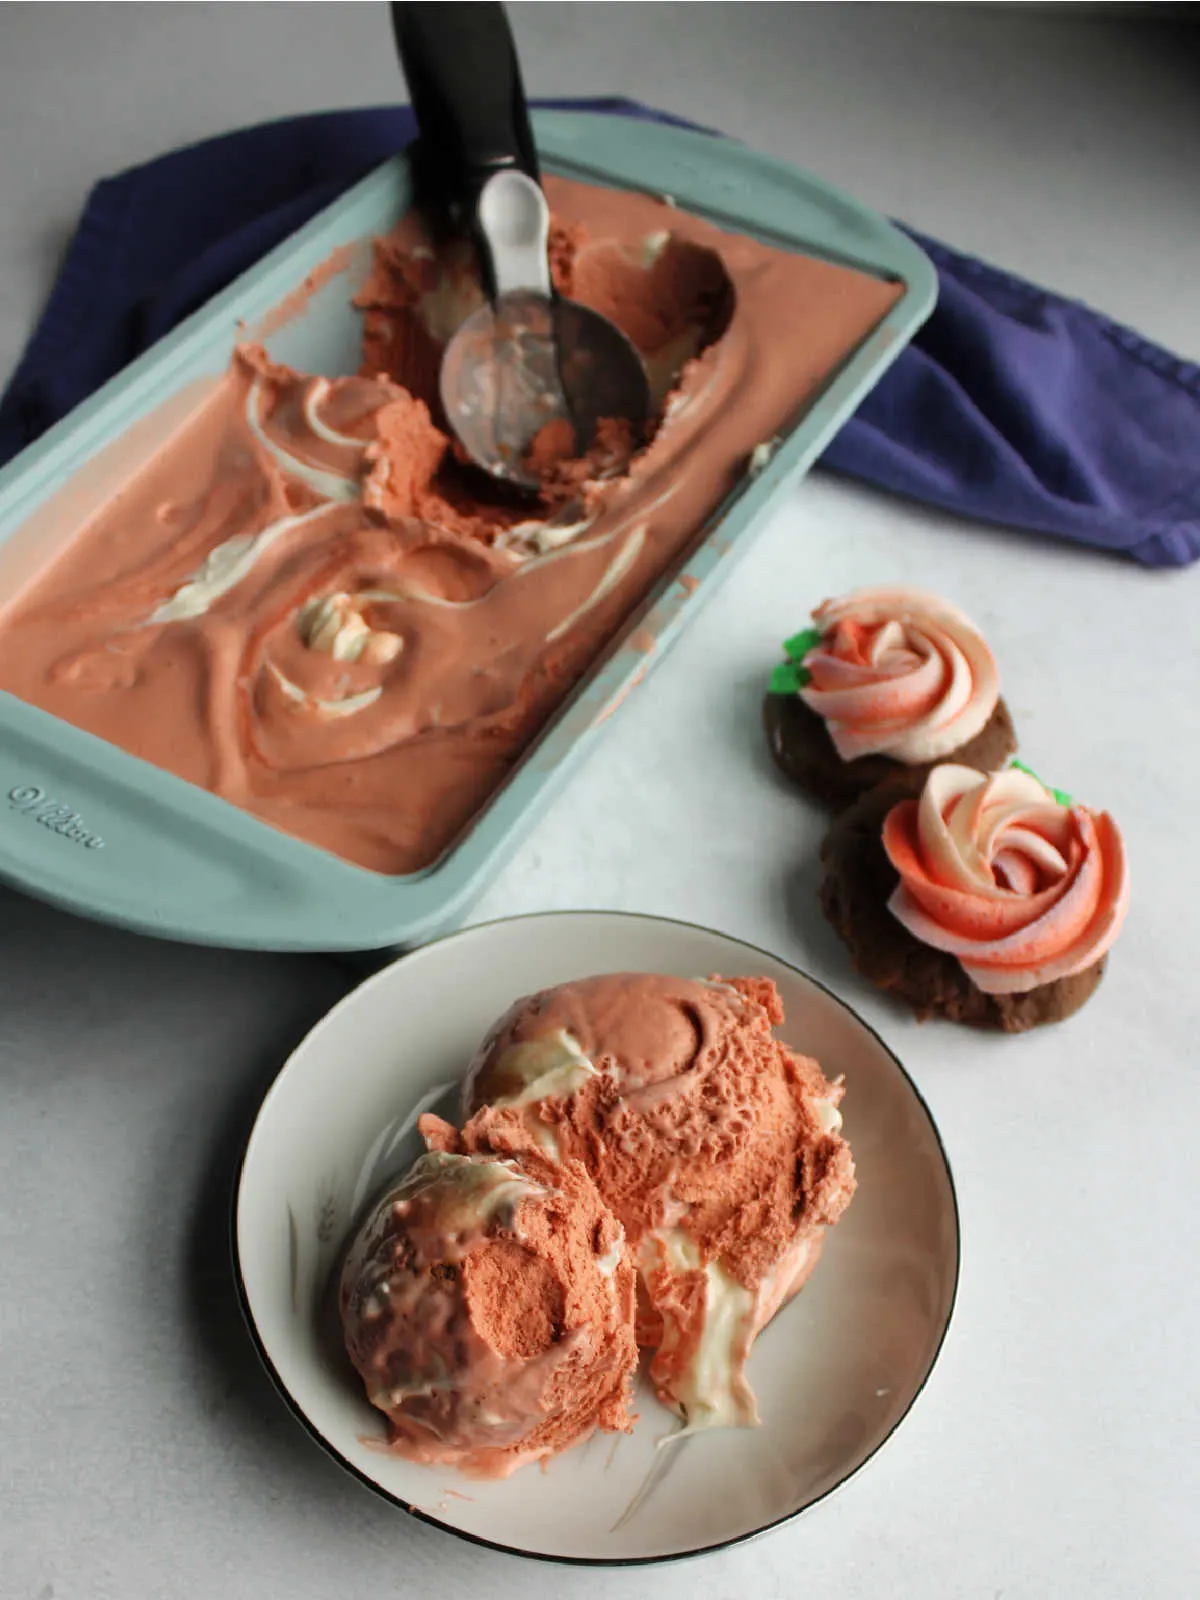
There are also stabilizers in the cream cheese that lend themselves to tasty ice cream. Plus you get a little bit of that cream cheese tang.
If you are interested in giving a cream cheese ice cream base a try, check out the recipe for pink velvet ice cream in even has a cream cheese frosting swirl! Or give orange cheesecake ice cream a try, it is perfect for summer.
Churning the Ice Cream
Once the base has cooled, it’s time to churn the ice cream. This is the process of freezing the base and turning it into a smooth, creamy dessert.
To churn the ice cream, simply pour the base into your ice cream maker and follow the manufacturer’s instructions. You may need to add the rock salt and ice to your ice cream maker outside the canister with your ice cream base.
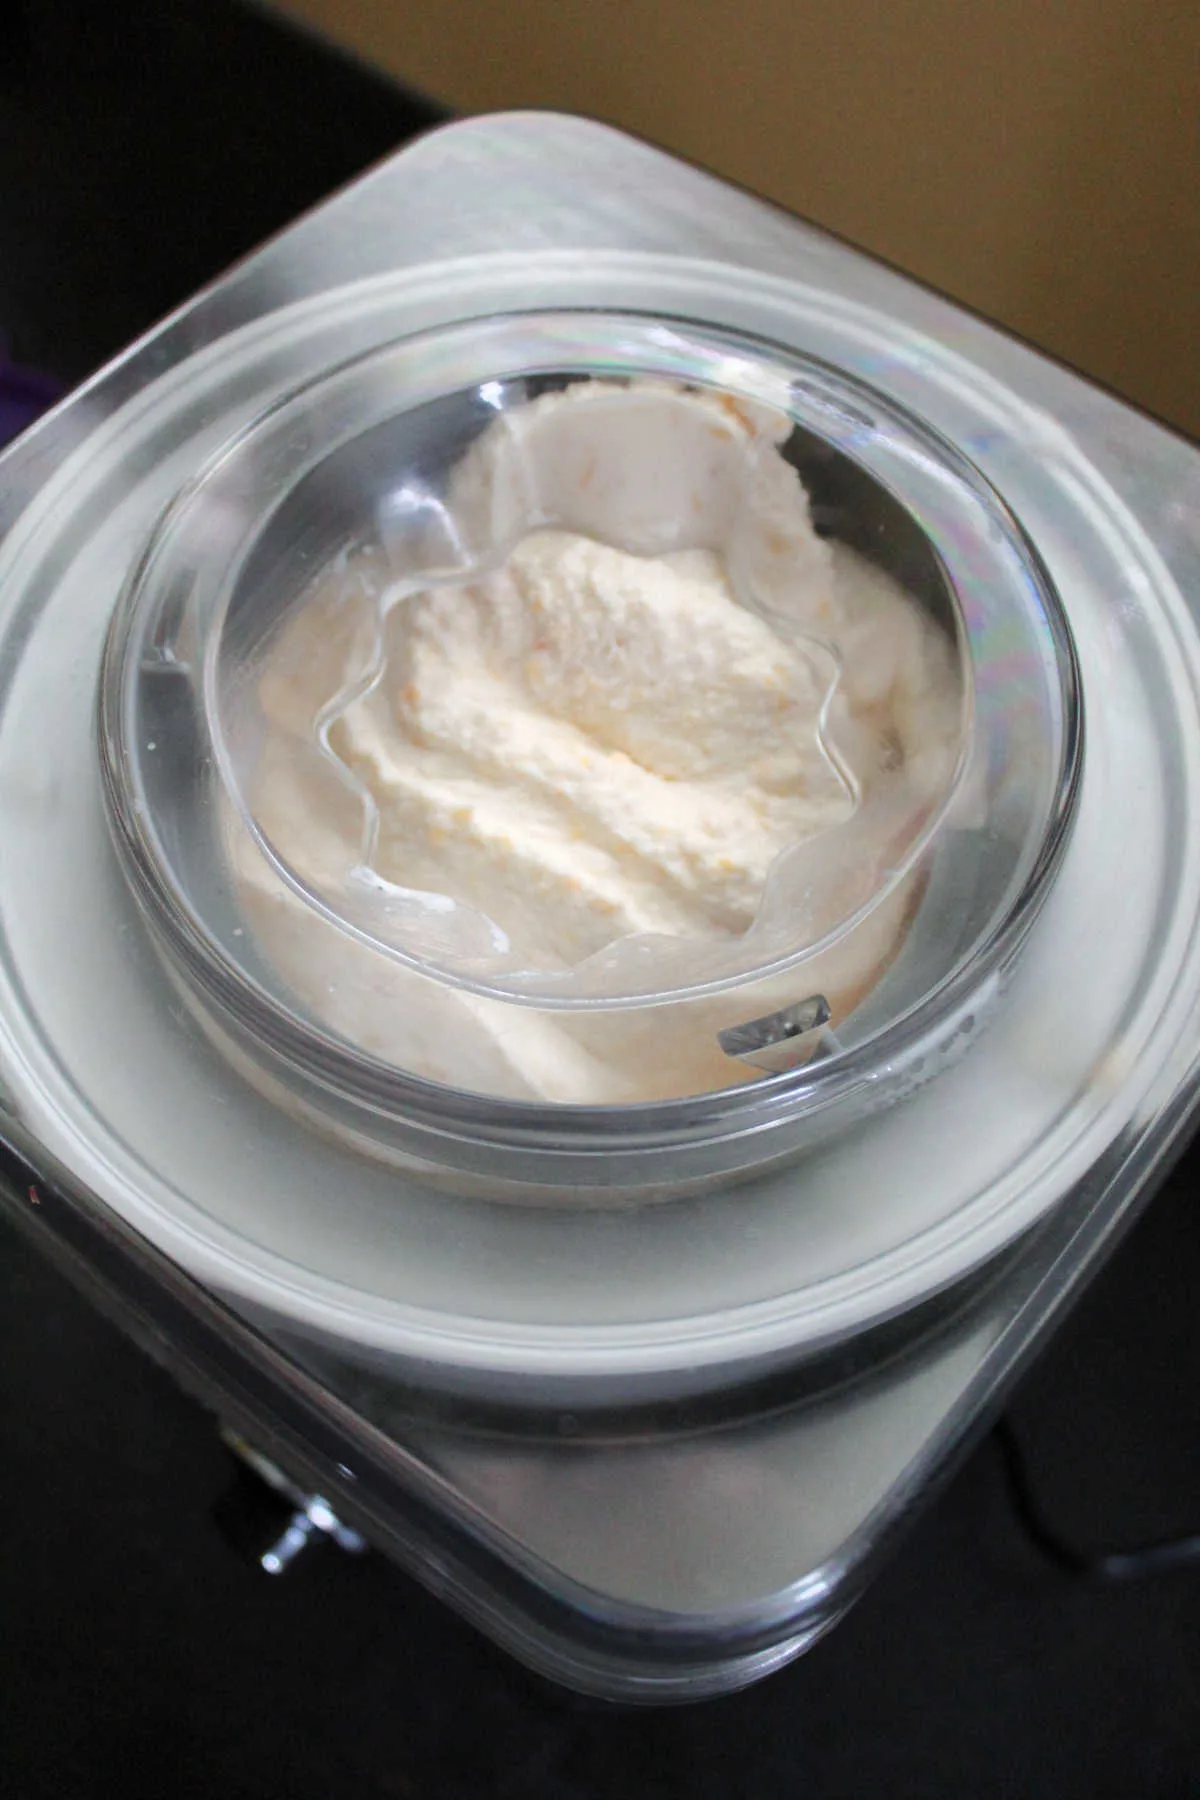
Or you may need to freeze the canister before you make the ice cream. This generally takes a while, so you will want to make sure to get it in the freezer at least a day in advance.
In most cases, you’ll need to let the machine run for 20-30 minutes. The exact time will depend on your machine, so be sure to read the instructions carefully.
Once the ice cream is done churning, it will be soft and scoopable but still quite icy. If you want a firmer consistency, simply transfer it to a container and place it in the freezer for an hour or two.
Ice Cream Makers
MiMi loves her kitchenaid ice cream maker attachments. She has two and keeps them both in rotation.
She used one to make the original batch of sorbet with great success. She highly recommends getting one if you have the right kitchenaid stand mixer.
I have a Cuisinart ice cream maker that I really like as well. You freeze the bowl ahead of time so you don’t have to mess with ice and salt.
Ice Cream Storage Options
My mom loves the Tovolo Glide-A-Scoop containers that fit in the freezer well, stack easily and store nicely. She already has a couple and is getting ready to order more.
I have fun quart sized containers that are reusable and dishwasher safe that I like as well. No matter how it’s stored, ice cream tends to disappear quickly around here!
Easy Vanilla Ice Cream Recipe for Beginners
If you don’t want to choose all the different flavors and ingredients for your ice cream, that’s okay! This easy recipe is perfect for beginners and yields delicious results every time.
Ingredients:
- 1 cup milk
- 1 cup heavy cream
- 1/2 cup sugar
- 1 teaspoon vanilla extract
Instructions:
1. Heat the milk in a saucepan over medium heat until it’s hot but not boiling.
2. Add the sugar and stir until it’s dissolved. Remove from heat.
3. Add the cream and continue stirring until everything is well combined.
4. Stir in the vanilla extract.
5. Pour the mixture into a large bowl and place it in the fridge to cool for at least an hour.
6. Churn the ice cream according to your ice cream maker’s instructions.
7. Serve immediately or transfer to a container and freeze for an hour or two. Enjoy!
What’s your favorite flavor of ice cream? Let us know in the comments below!
No Churn Ice Cream
Of course there are ways to make ice cream without an ice cream maker as well. One way is the famous no churn ice cream.
You just make whipped cream, stir in a can of sweetened condensed milk and any flavoring you would like and then freeze it.
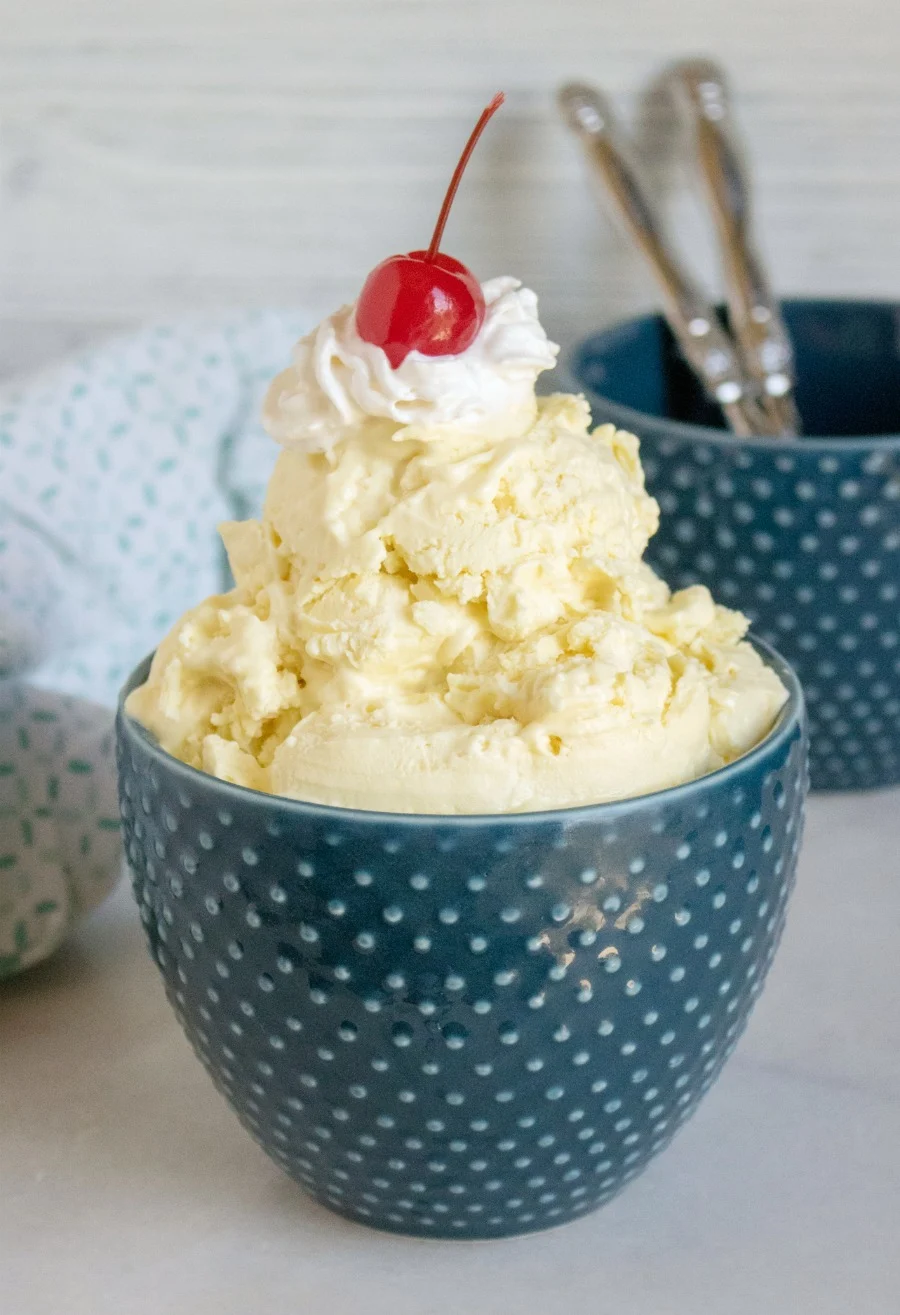
The air you normally get from churning comes from the whipped cream. The condensed milk has the sugar and vanilla already dissolved into milk.
It is a really simple way to get a scoop of homemade ice cream without any fancy equipment. Just a hand mixer for the whipped cream and a bread pan to freeze it in will do.
We love our ice cream around here. So for more great recipes, check out our collection of ice cream recipes. There is everything from no churn ice cream to ice creams loaded with flavors and mix-ins.
