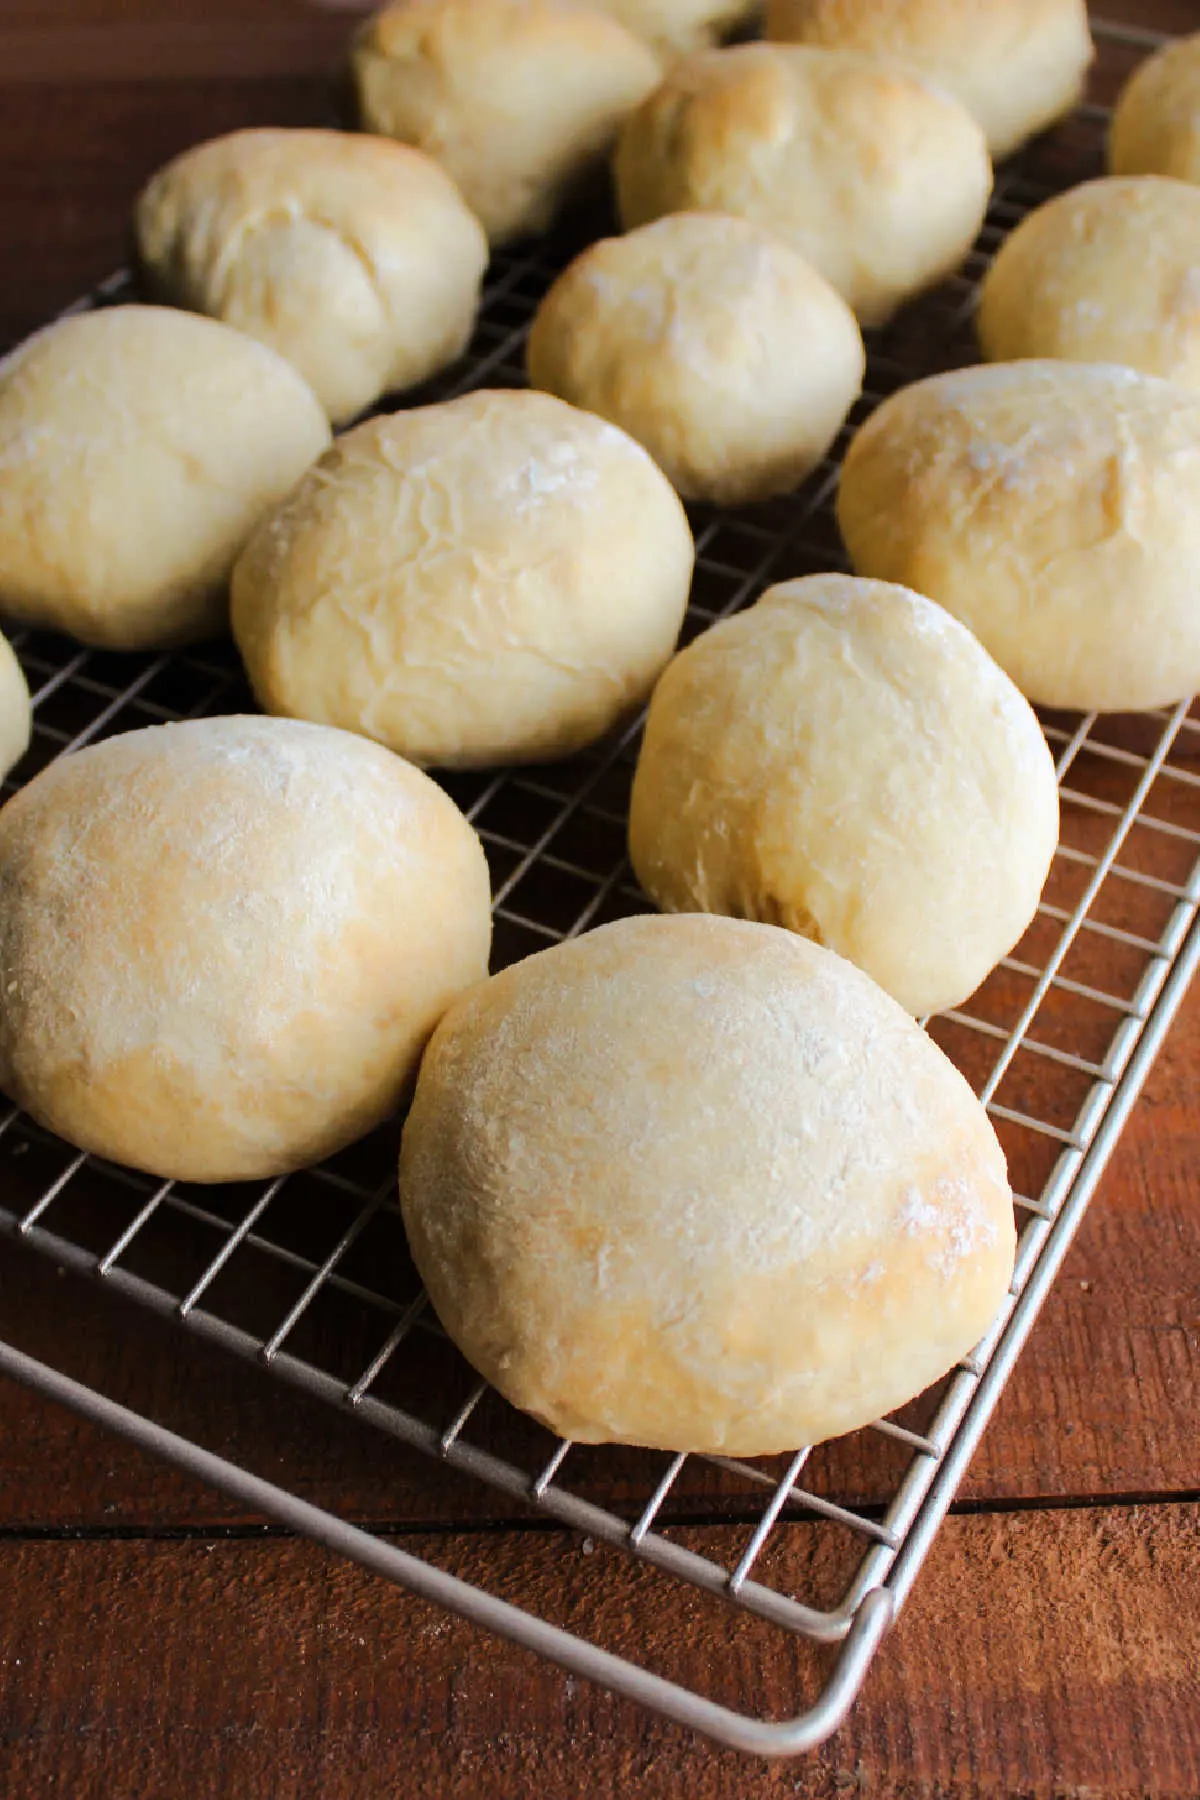
MiMi’s 3 day dinner rolls are so fluffy and soft. You can refrigerate the dough up to three days ahead of time, so they are perfect homemade dinner roll for your holiday table!
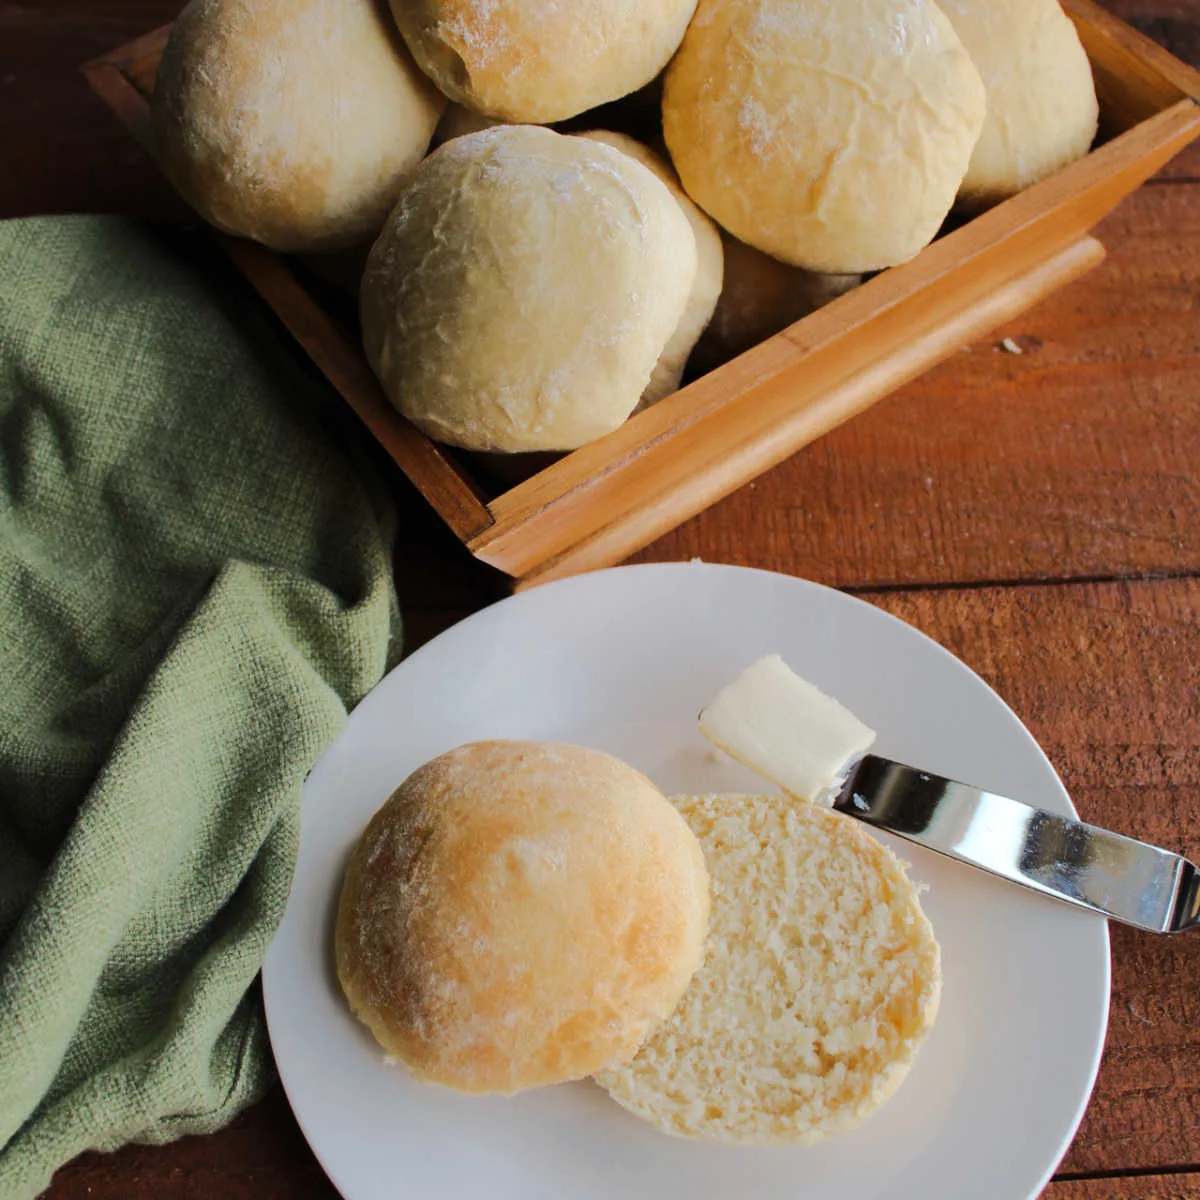
Three day bread rolls are so soft and really are easy to make. You make the dough ahead of time and refrigerate it for up to 3 days.
So all you have to do the day you plan to serve them is form them, allow them to rise and pop them in the oven. There is no measuring to mess with, just finishing the already made dough.
This recipe was a staple at funeral dinners at the small country parish my parents used to belong to. The ladies had been making them for generations and they were nice enough to teach my mom how to make them.
I have been looking for the perfect opportunity to share them with you and this seemed like the right time. They are a perfect roll for your holiday menu.
You can size them smaller for your Thanksgiving or Christmas dinner, or larger for leftover ham and turkey sandwiches!
Be warned though, if you make them this holiday season, you might as well plan on making them for every holiday from now on. People will love them so much they will keep requesting them!
Making the Yeast Dough in Advance
One of the best parts about these rolls is that you can make the dough up to three days in advance. You let them rise slowly in the refrigerator.
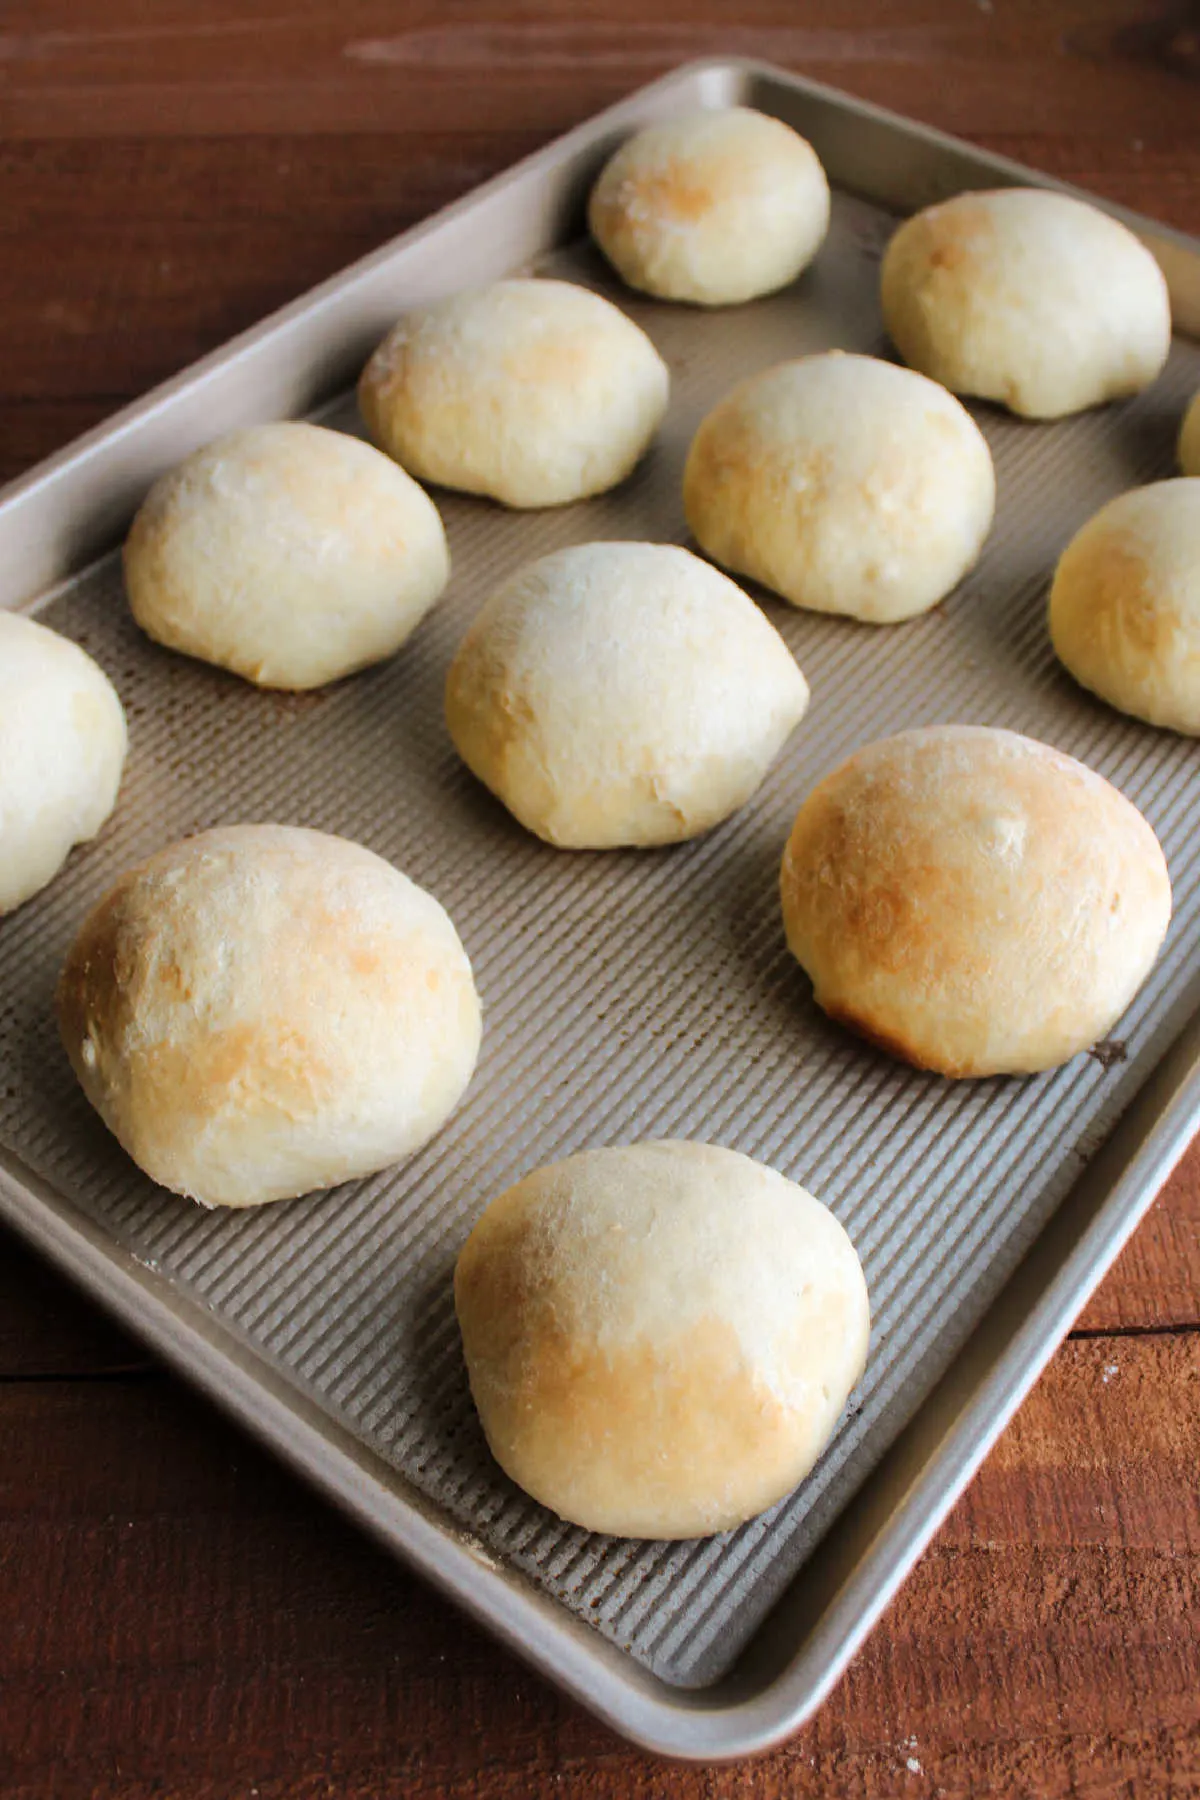
So all you have to do the day of is a quick knead, shape them and let them rise. When you pull your turkey out to rest, put in the rolls. In 10-15 minutes you have fresh homemade dinner rolls!
A Church Dinner Staple
MiMi got this recipe from the ladies at her old country church. She volunteered to help prepare them for a chicken dinner at the parish and the ladies showed her how it was done.
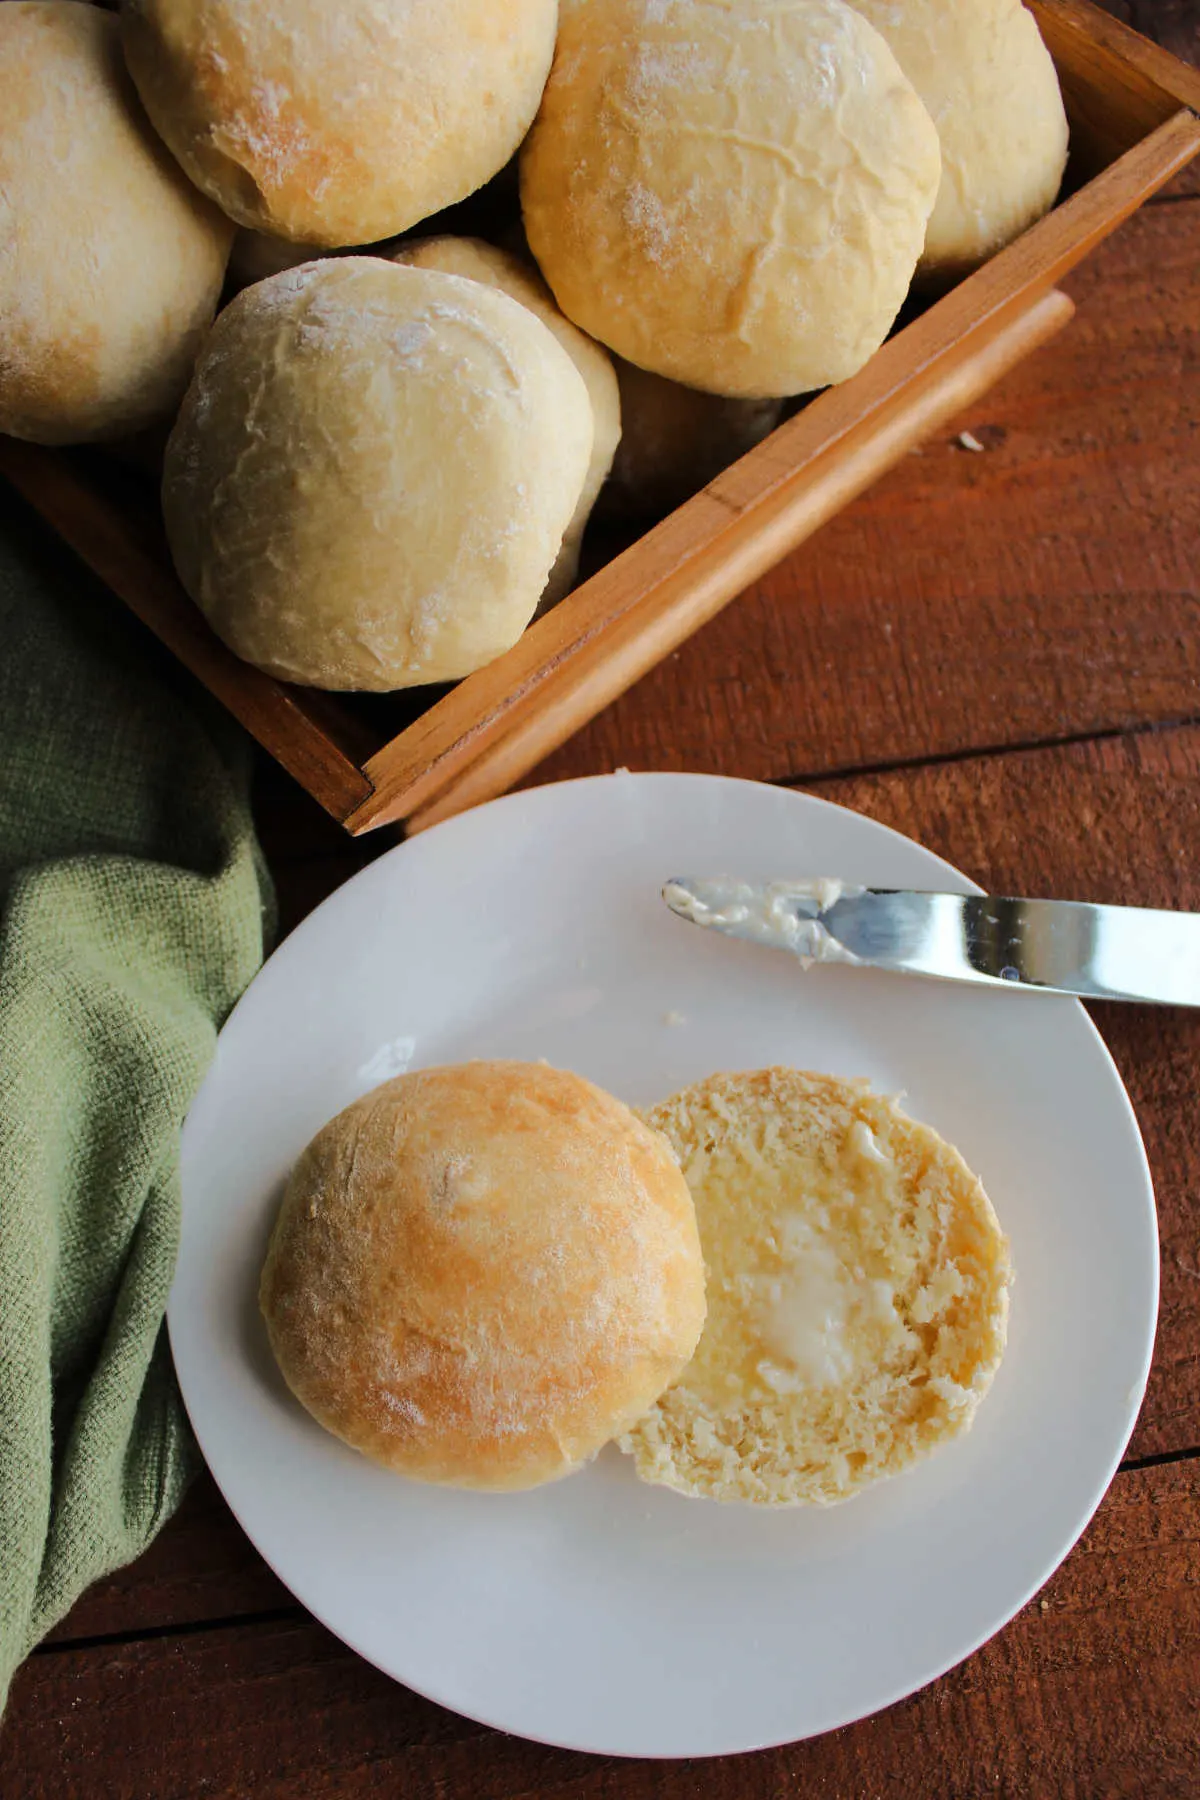
There is nothing quite like learning how to make homemade breads from people who have made thousands before! We have been using this method ever since.
How this Recipe is Different
This recipe is different than most bread or yeast roll recipes in several ways. The first is you don’t knead the dough before the first proof.
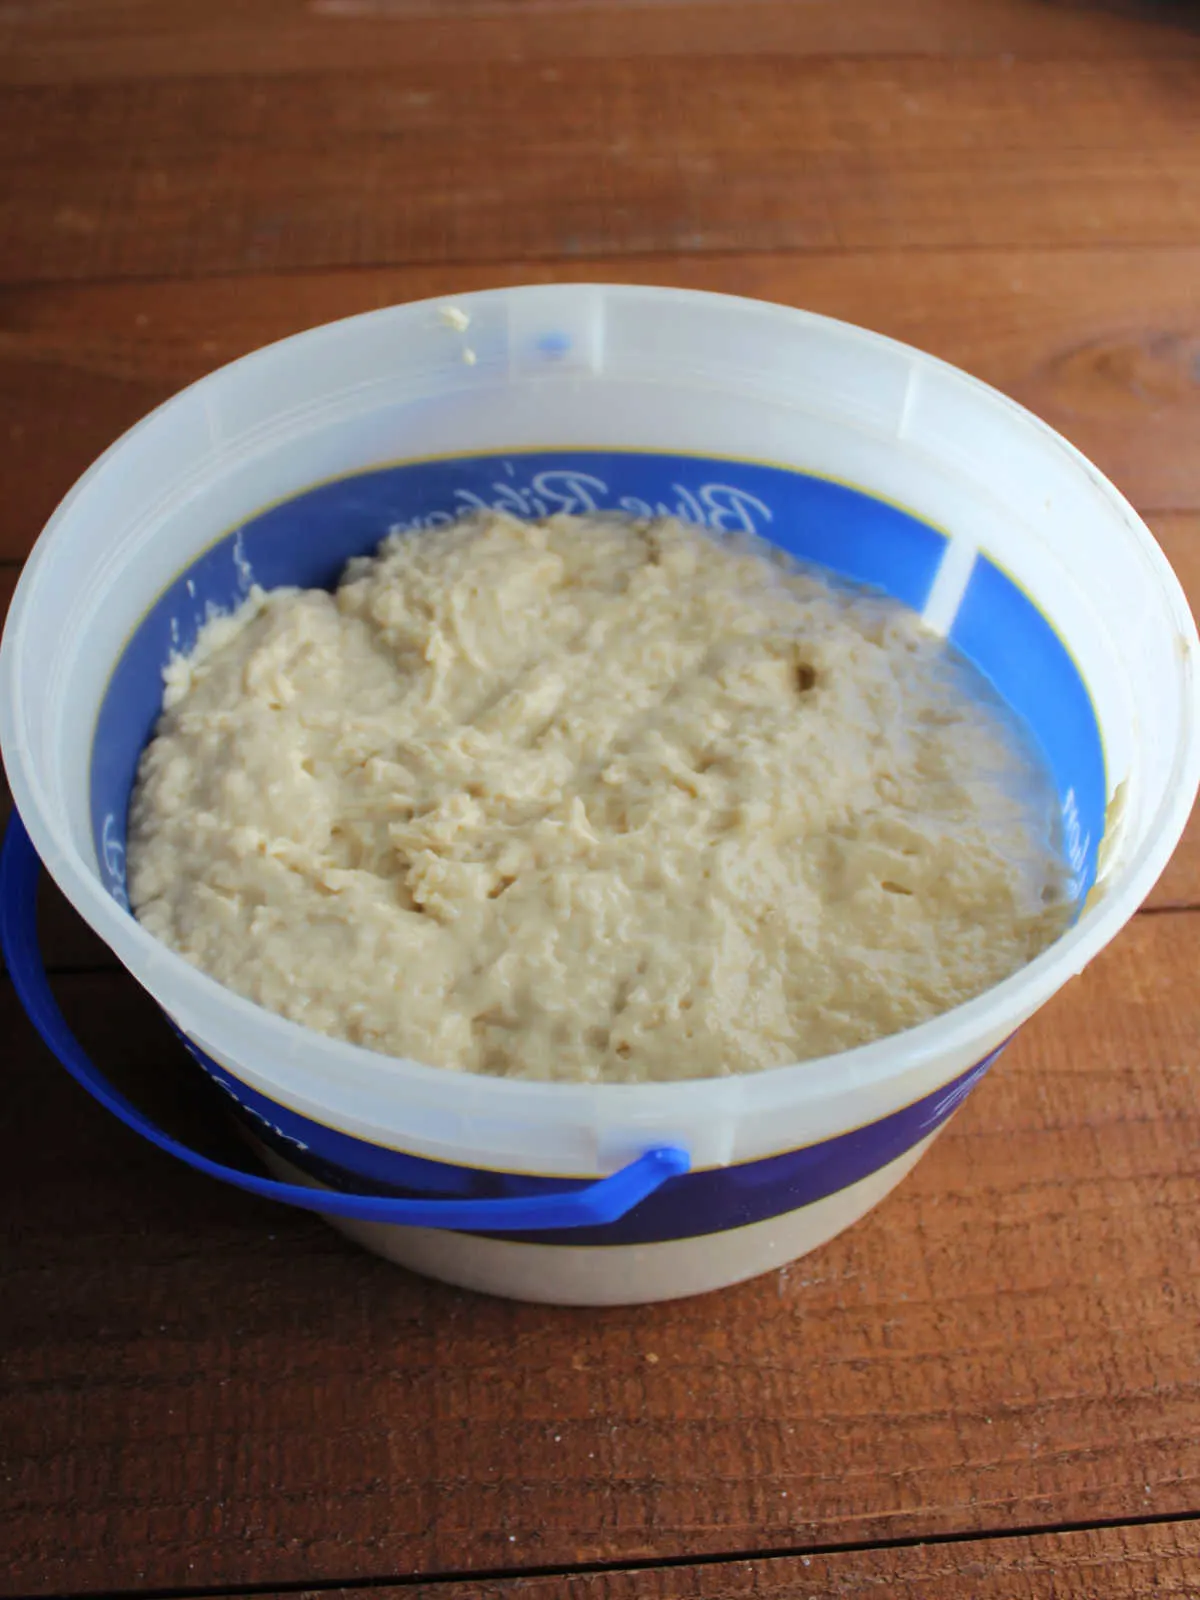
You just stir together the ingredients until they make a loose dough and put them in a greased bowl. Cover the dough and put it in the refrigerator for up to three days.
Strangely enough, that is when you do the first knead. When you remove the dough after its long chill, you give it a quick knead in some flour.
Then you take little pieces and form them into balls. The ladies at that country church showed MiMi how to do this step.
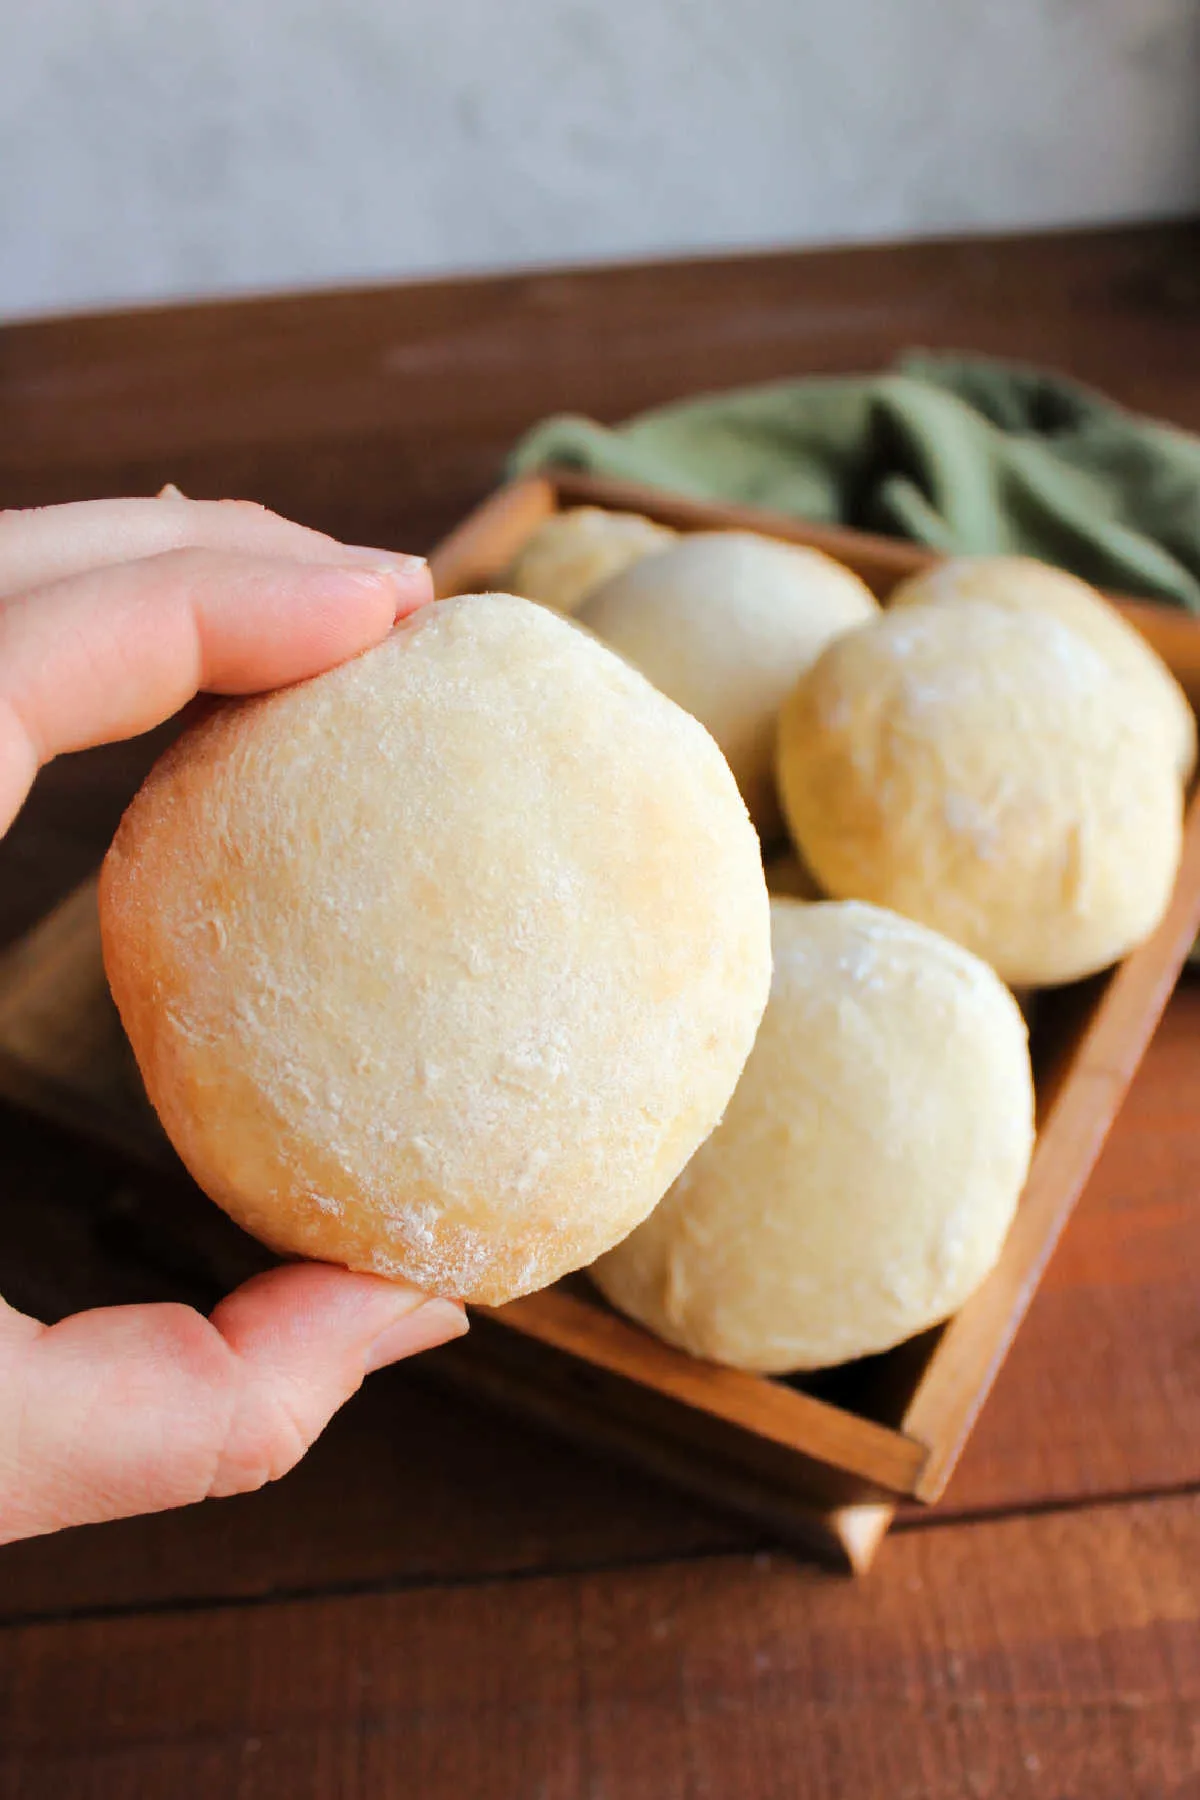
It seems counter-intuitive, but you really do want to add some flour at this stage. It makes them lighter and fluffier.
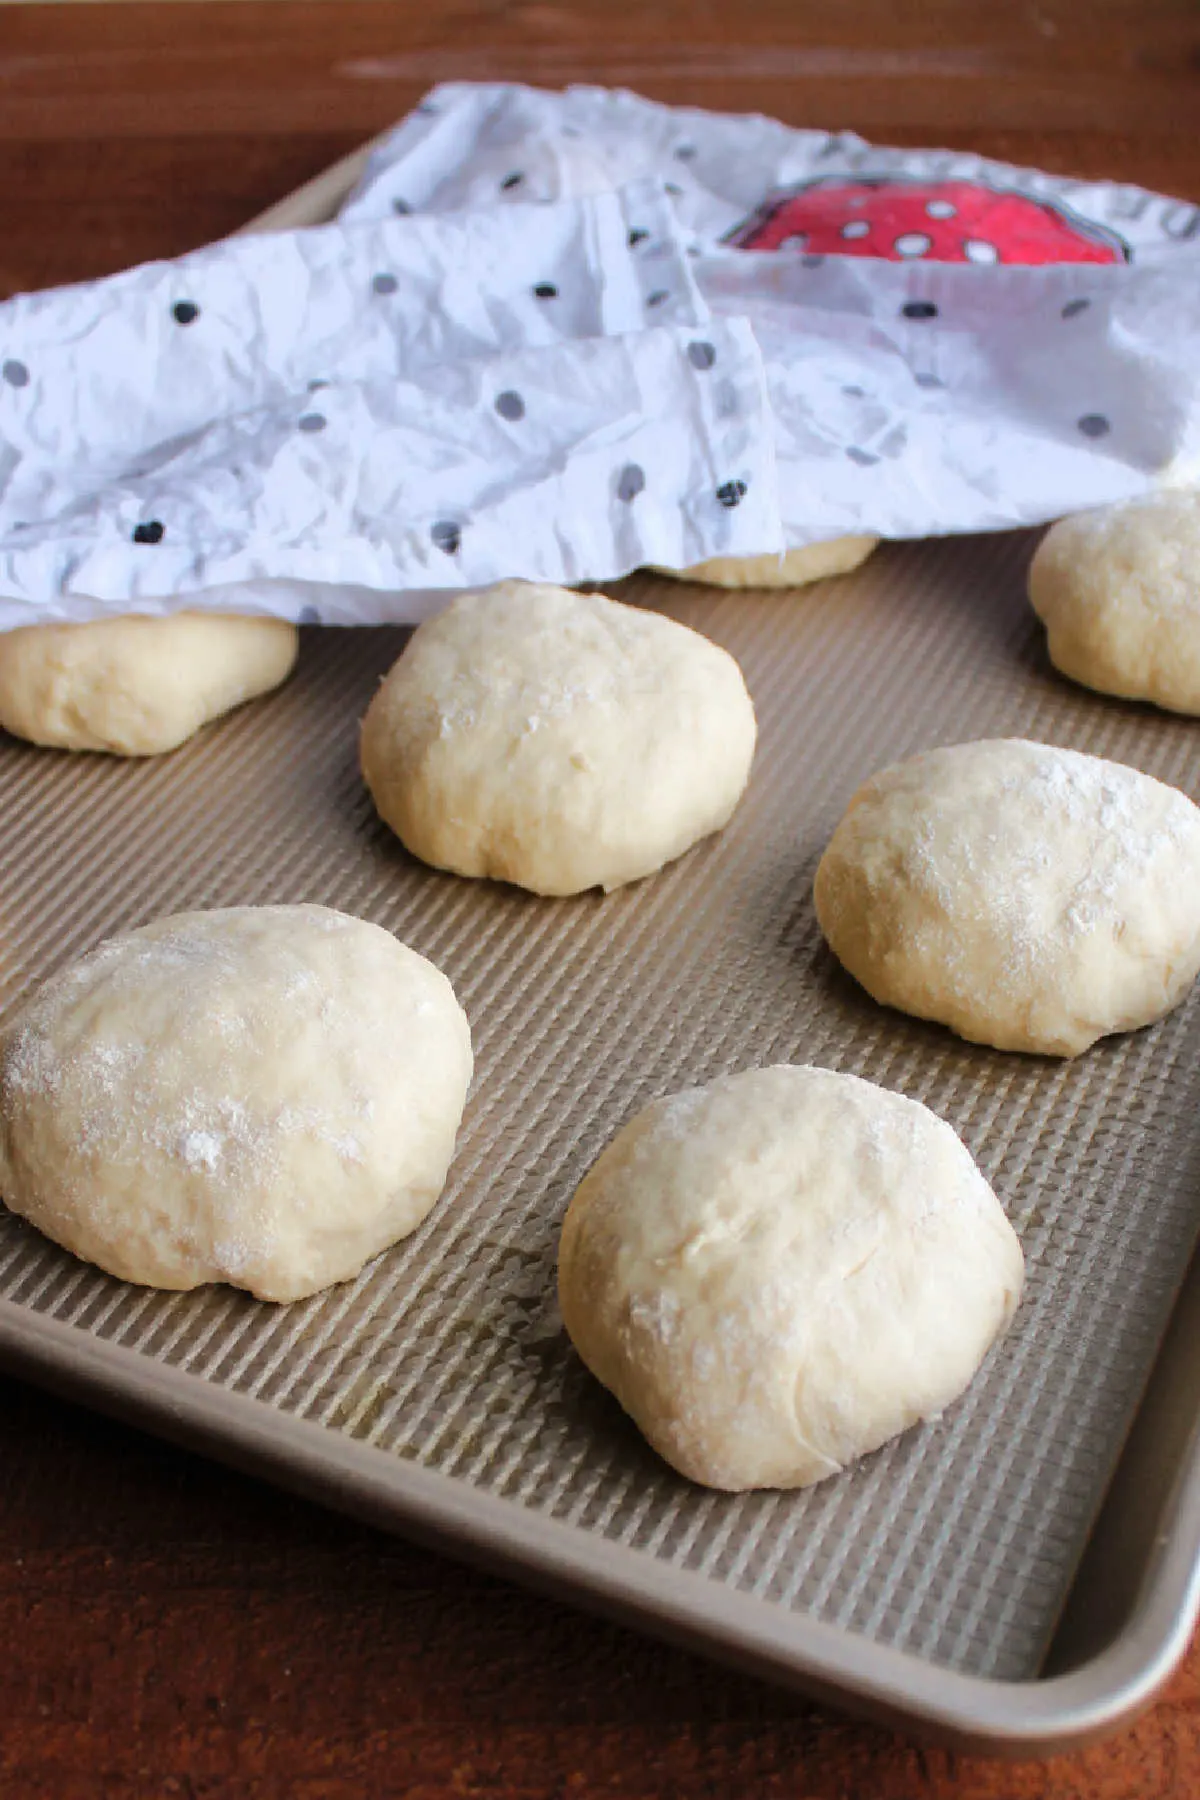
All you have to do is keep folding the outer edges into the middle until you have a nice ball of dough with a smooth exterior.
Though the name of the rolls are three-day rolls, don’t worry you can make them in one! I suggest you make some today!
How do you store homemade yeast rolls?
Like most homemade bread, these rolls are best baked fresh. The best way to store leftover rolls is in an airtight container or plastic bag in a dry, cool location like a bread box.
You can freeze fresh rolls for longer storage. Refrigerating bread and rolls is not recommended as it makes them go stale more quickly.
3-Day Dinner Rolls
Ingredients
- 5 teaspoons active dry yeast
- 3¼ cups warm water
- 1 cup unsalted butter softened
- ¾ cup granulated sugar
- 2 large eggs
- 2 teaspoons salt
- 7 cups all purpose flour plus more for kneading
Instructions
- In a large mixing bowl, dissolve yeast in warm water. Make sure the water isn’t too hot, you should be able to keep your finger in the water without it causing pain.5 teaspoons active dry yeast, 3¼ cups warm water
- Stir in butter, sugar, eggs and salt until well mixed.1 cup unsalted butter, ¾ cup granulated sugar, 2 large eggs, 2 teaspoons salt
- Add two cups of flour, beat until smooth.7 cups all purpose flour
- Slowly add flour until you have added enough to form a soft dough. Do not knead!
- Grease a large bowl and place dough inside. Cover and refrigerate for at least and hour, but up to three days.
- The day you plan to bake them, remove from refrigerator and place onto a well floured surface. Knead until smooth and elastic, about 7 minutes.
- Divide dough into 36-48 pieces depending on the size roll you’d like (remember they still have to rise, so make the pieces smaller than you want your finished product.) On a floured surface, shape into balls by folding the edges into the center until you have a round shape that is smooth on the top.
- Place on greased baking sheets and cover with towels. Allow to rise until nearly doubled in size, about an hour.
- Bake at 375°F for 10-15 minutes. Immediately remove from baking sheets and place on wire racks to cool.

Family Around the Table
Saturday 12th of November 2016
These look like the perfect roll! Love they can be started in advance.
Carlee
Monday 14th of November 2016
Thank you! They turn out so soft and fluffy too!
Joanne
Saturday 5th of November 2016
I'm always looking for "quick" and yummy roll recipes to try. Pinned.
Carlee
Monday 7th of November 2016
Thank you! These are so soft and delicious, a family favorite for sure!
Unknown
Saturday 12th of March 2016
I made these for Thanksgiving and Christmas, my family instantly said, "Whatever you do, NEVER, make anything else. These were awesome! Thanks for the post.
Carlee
Sunday 13th of March 2016
That is awesome, thank you!
Lazy Gastronome
Tuesday 17th of November 2015
These look great and easy! Thanks for sharing at the Lazy Gastronome's Whats for Dinner linky party!
Carlee
Tuesday 17th of November 2015
They really are easy and delicious!
Carlee
Wednesday 11th of November 2015
I hope you enjoy it! It makes quite a few and is really easy to do!