
One bite of a homemade Martha Washington candy and you will be transported to your grandma’s kitchen or an old timey candy store. These easy candies are a classic for good reason, they are really tasty. But the best part is they are easy to make at home.

If you are looking for a fun no bake candy recipe to try, you are in the right place. These chocolate coated candies feature a filling made with condensed milk, coconut, cherries and pecans for a perfect mix of flavors and texture.
They will be a wonderful addition to your Christmas treat menu. Or whip them up for Valentine’s Day or any time you need a little something sweet and special.
Make some to gift to family and friends during the holidays. Or keep them for yourself, nobody has to know!
Just make sure to give these tasty little cherry coconut bonbons a try. They are a special nostalgic treat that is sure to win you over.
Why are they called Martha Washingtons?
Martha Washington candies are actually named after an old candy store, not the first lady. The creator of this recipe trademarked the Martha Washington Candy Store in 1906 and opened his first candy store the same year.
There were more than 200 Martha Washington Candy stores with 15 factories when the Great Depression hit in the 1920 and shut them down. Luckily this recipe and the namesake candies survived.
Easy Alterations
This candy recipe is just about perfect as written, but you can easily make some changes to make it your own. Feel free to try whatever you happen to have on hand.
Email Me The Link
If you don’t like cherries, feel free to leave them out. Then you have something that is very close to my grandma’s coconut bon bons.


Feel free to toast the pecans if you want. Toasted pecans always add such a nice flavor to candies.
You could also use chopped walnuts or almonds instead of the pecans. Or if you are making them for my husband, leave the nuts out all together.
Instead of drizzling the bonbons with white chocolate, feel free to sprinkle with additional chopped nuts or festive sprinkles. They look great undecorated as well.


Make Them Ahead of Time
You can make the centers up to 3 months in advance. Just scoop them onto a wax paper lined cookie sheet and freeze for 2 hours. Then move them to a freezer safe container and store in the freezer.
When you are ready to enjoy them, dip the centers in chocolate and you are ready to go!



Martha Washington Candies
Equipment
Ingredients
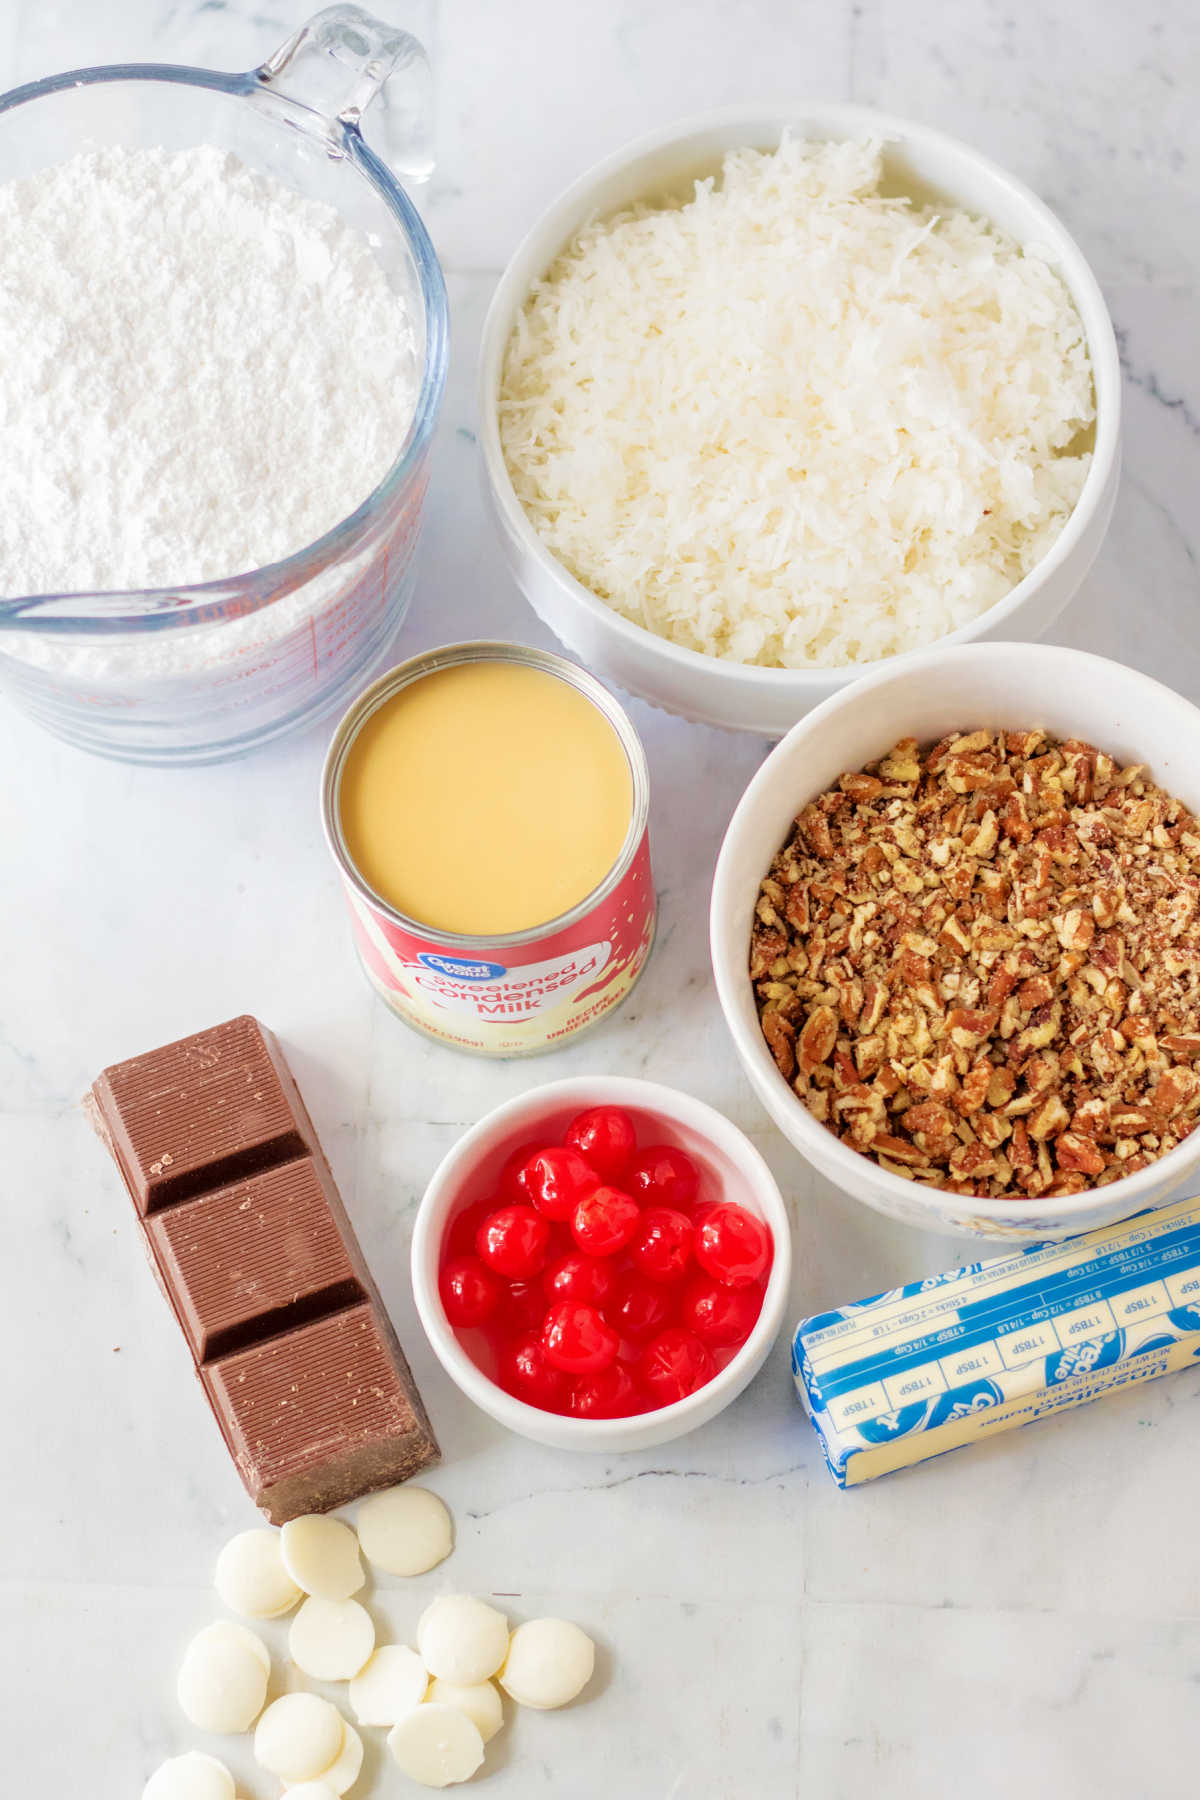
- 1 cup salted butter softened
- 4 cups powdered sugar
- 14 oz. sweetened condensed milk
- 1 teaspoon vanilla extract
- 3 cups sweetened shredded coconut
- 2 cups chopped pecans
- 10 oz maraschino cherries
- 1 pound melting chocolate
- 1 cup white candy melts
Instructions
- Chop the maraschino cherries relatively finely and pat dry with a paper towel. Set aside.10 oz maraschino cherries
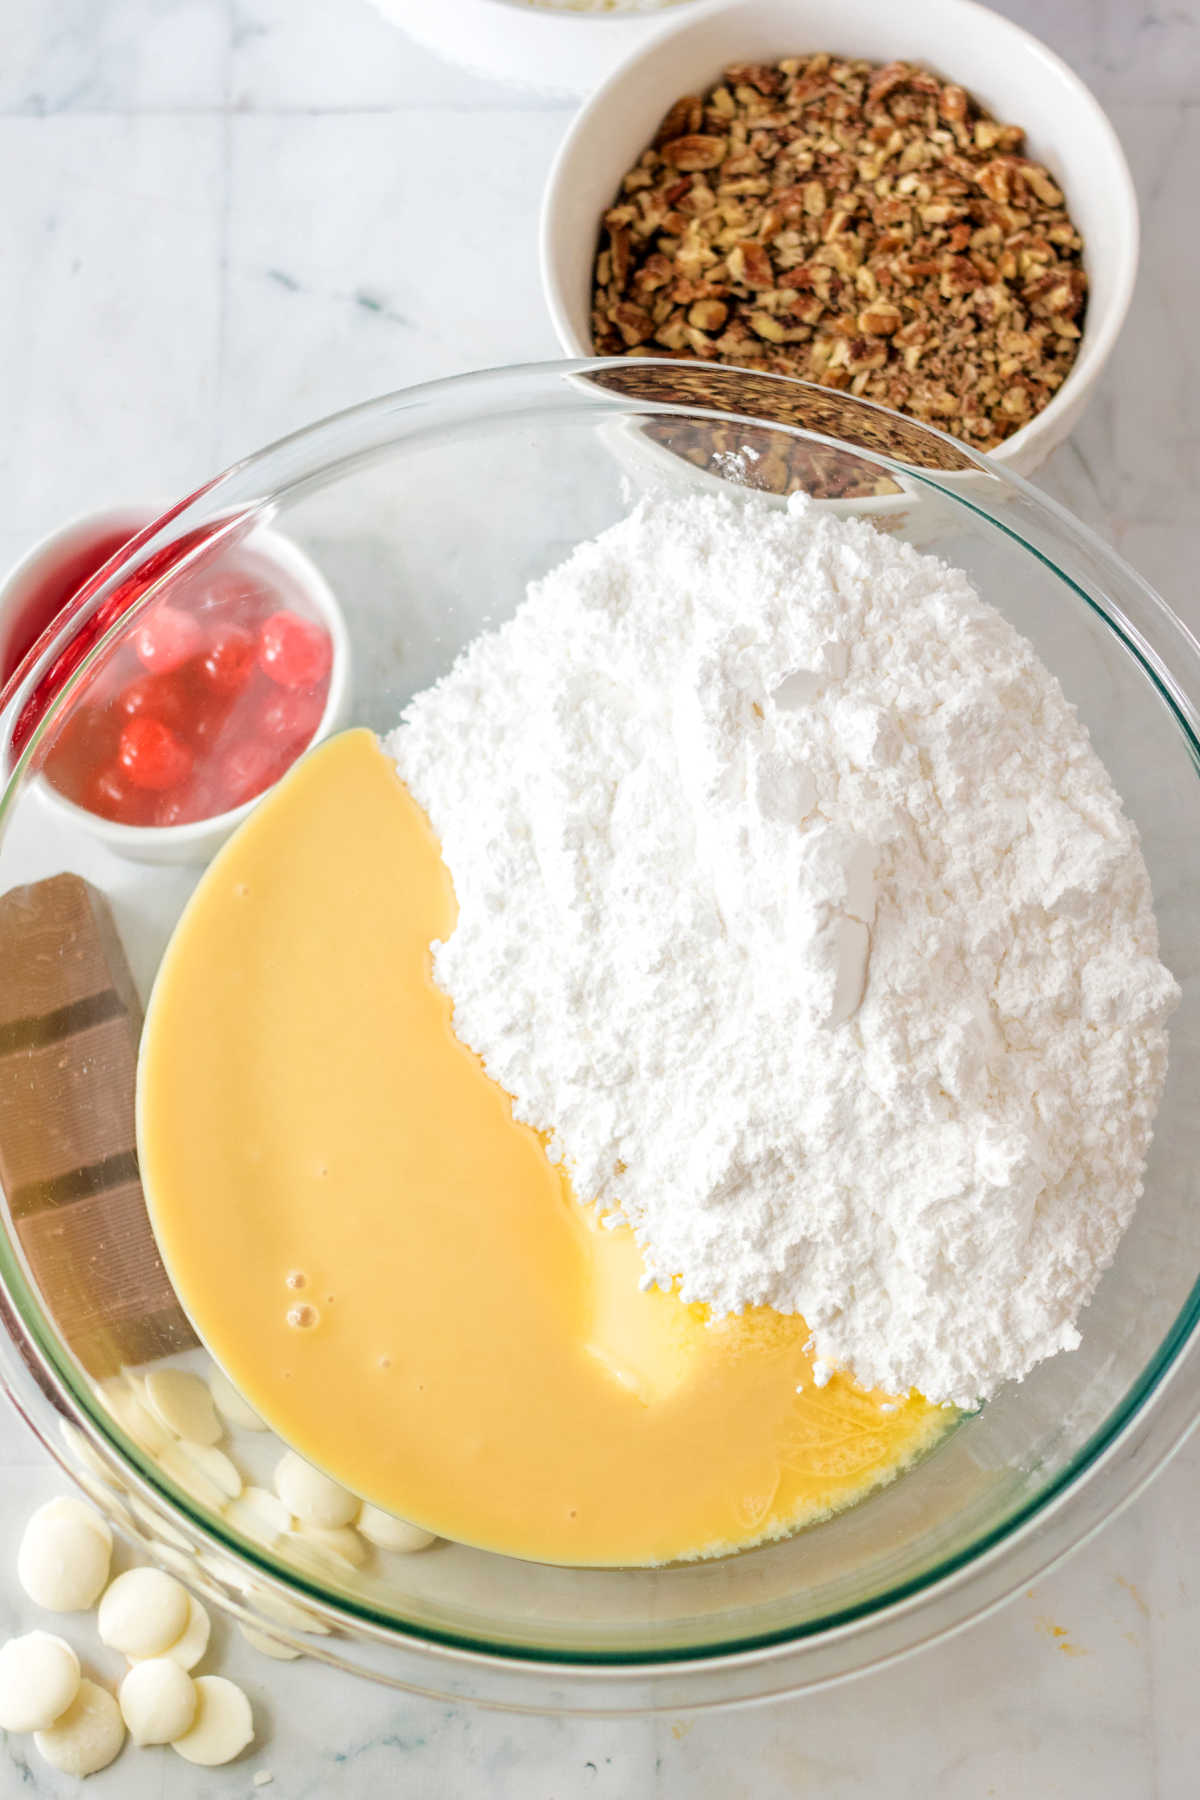
- In a large bowl with an electric mixer beat together the butter, powdered sugar, sweetened condensed milk and vanilla until combined.1 cup salted butter, 4 cups powdered sugar, 14 oz. sweetened condensed milk, 1 teaspoon vanilla extract
- Stir in the coconut, pecans and chopped cherries.3 cups sweetened shredded coconut, 2 cups chopped pecans
- Chill the dough for 30 minutes.
- Using a 1 tablespoon scoop, scoop out the candy and roll into a ball and place on a parchment lined baking tray.
- Once all the candy is scooped and rolled out into balls, place the candy filled baking sheet in the fridge for 2 hours (up to overnight).
- Next melt your melting chocolate in a microwave-safe bowl in 30 second increments until melted and smooth. Alternatively, melt it in the top of a double boiler.1 pound melting chocolate
- Use a fork to dip the balls in melted chocolate tapping off the excess chocolate and place back onto the parchment paper.
- Melt the white candy melts in a microwave safe bowl in 30 second increments until melted and smooth.1 cup white candy melts
- Put melted chocolate in a piping bag or small plastic bag, cut a small whole in the corner. Drizzle the white chocolate on top of the candies.
- Allow to set completely before storing in an airtight container for up to 2 weeks.
Notes
Video

Email Me The Link
Did you try this recipe?
Don’t forget to leave a rating below and make sure to follow on Pinterest and Instagram for more!
Get social!
Recipes in your inbox

Cremated kitten